# Novu Framework Controls (/framework/controls)
Learn how to use Controls in your notification workflows
import { Tab, Tabs } from 'fumadocs-ui/components/tabs';
Controls are defined using [JSON Schema](/framework/schema/json-schema) or [Zod](https://zod.dev), providing a strong run-time validation system for your workflows.
This ensures that you as the developer and your non-technical peers are speaking the same language. Those responsible for styling and copy can edit with confidence, knowing their changes are tested in code.
## Controls vs Payload
**Control Schema** - For Non-Technical Peers and Developers. Managed in the Novu Dashboard UI, defined by developers and used by non-technical peers.
**Payload Schema** - For Developers. Passed during the `novu.trigger` method, and controlled by the developer.
## Common usecases
* **Content** - Modify any static content: email subject, email body, push notification title, etc...
* **Styling** - Modify the styling of the content: button color, background color, font size, etc...
* **Behaviour** - Modify the behaviour of the content: show/hide a section, show/hide a button, etc...
* **Order** - Modify the order of the content: the order of the email sections, the order of the buttons, etc...
* **Actions** - Modify the behaviour of actions: digest duration, etc...
* **Other** - Any other use case that should be controller without modifying code
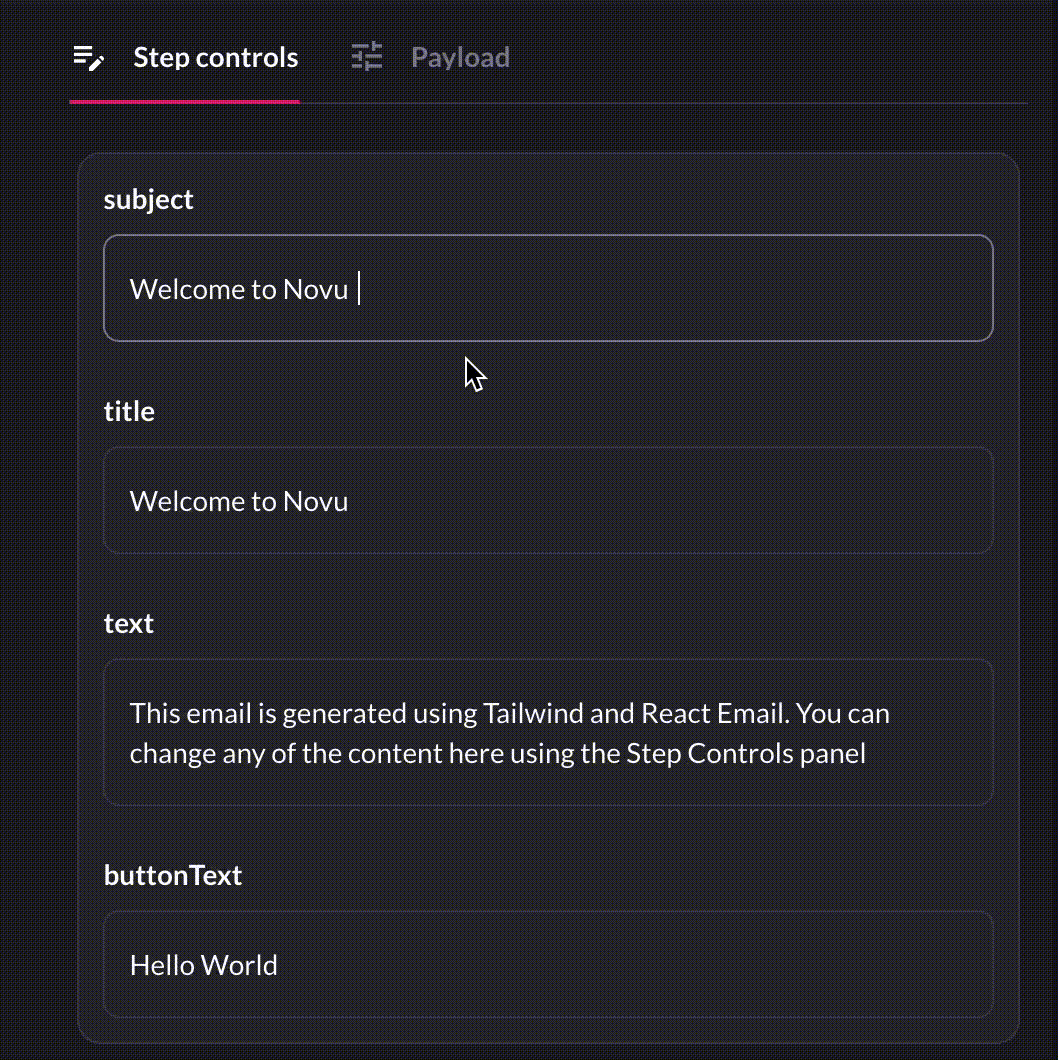
## Step Controls
Step Control schema defines the control passed during the `step` method. These controls can be modified and persisted in the Novu Dashboard UI. The snippet below shows a configuration for the Step Control schema. If you don't provide a schema, Typescript will infer the data type to `unknown`, reminding you of the best practice to specify your schema.
```tsx
import { z } from 'zod';
import { render } from 'react-email';
import { ReactEmailContent } from './ReactEmailContent';
workflow('new-signup', async ({ step, payload }) => {
await step.email(
'send-email',
async (controls) => {
return {
subject: controls.subject,
body: render(
),
};
},
{
controlSchema: z.object({
hideBanner: z.boolean().default(false),
subject: z.string().default('Hi {{subscriber.firstName | capitalize}}'),
components: z.array(
z.object({
type: z.enum(['header', 'cta-row', 'footer']),
content: z.string(),
})
),
}),
}
);
});
```
```tsx
import { IsString, IsNotEmpty, IsOptional, IsBoolean } from 'class-validator';
import { Type } from 'class-transformer';
import { render } from 'react-email';
import { ReactEmailContent } from './ReactEmailContent';
class NewSignUpComponent {
@IsString()
subject: string;
@IsString()
content: string;
}
class NewSignUpControlSchema {
@IsBoolean()
hideBanner: boolean;
@IsString()
@IsNotEmpty()
@IsOptional()
subject?: string;
// Allowing no code control over the component in the Dashboard UI
@Type(() => NewSignUpComponent)
@NestedValidation({ each: true })
@IsOptional()
components?: NewSignUpComponent[];
}
workflow('new-signup', async ({ step, payload }) => {
await step.email(
'send-email',
async (controls) => {
return {
subject: controls.subject,
body: render(
),
};
},
{
// Learn about Class-Validator Schema here: https://github.com/typestack/class-validator
controlSchema: NewSignUpControlSchema,
}
);
});
```
```tsx
workflow("new-signup", async ({ step, payload }) => {
await step.email(
"send-email",
async (controls) => {
return {
subject: controls.subject,
body: render(
),
};
},
{
// Learn about JSON Schema here: https://json-schema.org/specification
controlSchema: {
// Always `object`
type: "object",
// Specify the properties to validate. Supports deep nesting.
properties: {
hideBanner: { type: "boolean", default: false },
subject: { type: "string", default: 'Hi {{subscriber.firstName | capitalize}}' },
// Allowing no code control over the component in the Dashboard UI
components: {
type: "array",
items: {
type: "object",
},
properties: {
subject: { type: "string" },
content: { type: "string" },
}
},
},
// Specify the array of which properties are required.
required: ["hideBanner"],
// Used to enforce full type strictness, with no rogue properties.
additionalProperties: false,
// The `as const` is important to let Typescript know that this
// type won't change, enabling strong typing on `inputs` via type
// inference of the provided JSON Schema.
} as const,
}
);
});
```
For the full list of parameters, check out the [full SDK reference](/framework/typescript/steps).
## Schema Validation & IDE IntelliSense
You can use **Zod, Class-Validator or JSON Schema** based on your needs.
* **[Zod](https://zod.dev/)** - A TypeScript-first schema declaration and validation library. *(Novu supports Zod v3)*
* **[Class-Validator](https://github.com/typestack/class-validator)** - A TypeScript-first validation library using decorators for OOP-style applications.
* **[JSON Schema](/framework/schema/json-schema)** - The most popular schema language for defining JSON data structures.
If you only want local IDE IntelliSense, you are able to pass plain JS Classes, which will not provide any Schema Definition useable by Novu Platform.
All provided **Zod** and **Class-Transformer** Schemas are compiled into **JSON Schema** which is passed to Novu. This ensures a consistent validation approach and UX by managing Payload and Control Data directly from the Platform.
There may be inconsistencies when using Class-Transformer especially with nested schema objects.
Please check out the guidelines on converting Class-Transformer classes to JSON Schema before
using it here:
[class-validator-jsonschema](https://www.npmjs.com/package/class-validator-jsonschema).
## Using Variables
To facilitate the use of variables in the control schema, enclose the variable name in double curly braces using the `{{variableName}}` syntax. For example, `{{subscriber.firstName | capitalize}}` will be dynamically replaced with the actual value of the subscriber's first name at runtime. You can use variables in any step control value, whether set by the developer or within the Novu Dashboard UI. To facilitate this, the Novu Dashboard UI offers auto-completion for variables. Simply start typing `{{` to view a list of all available variables.
### Variable Options
* **Subscriber Attributes**: Access all [subscriber attributes](/platform/concepts/subscribers#subscriber-attributes). Example: `{{subscriber.firstName}}`
* **Payload Variables**: Use all payload variables defined in the `payloadSchema`. Example: `{{payload.userId}}`
* **Liquid Filters**: Apply [liquid filters](https://liquidjs.com/filters/overview.html) to format or manipulate variable values. Examples: `{{subscriber.firstName | append: ': ' | append: payload.status | capitalize}}` or `{{payload.invoiceDate | date: '%a, %b %d, %y'}}` will format the date as `Thu, Jan 01, 24`