How to send notifications with Svelte and Svelte email
Learn how to send email notifications with Svelte, Svelte email and Novu
Introduction
Learn how to send notifications with Svelte, Svelte email and Novu. You can check out the complete code for a working app.
Prerequisites
- A Novu account
- Node installed on your machine
- A working SvelteKit app
Follow these Steps
1. Install all dependencies
npm install @novu/framework svelte-email
2. Integrate Novu with SvelteKit
Within the src/routes directory, create an api/novu folder and add a +server.ts file to it.
// src/routes/api/novu/+server.ts

import { svelteWorkflow, client } from '$lib/novu/workflows';
import { serve } from '@novu/framework/sveltekit';

export const { GET, POST, PUT } = serve({ client: client, workflows: [svelteWorkflow] });
3. Create an email template in Svelte
Within the src/lib directory, create an emails folder and add an email template in a .svelte file to it.
For example, airbnb-review.svelte:
// src/lib/emails/airbnb-review.svelte

<script lang="ts">
	import {
		Button,
		Container,
		Head,
		Heading,
		Hr,
		Html,
		Img,
		Link,
		Preview,
		Section,
		Text
	} from 'svelte-email';

        const baseUrl = 'https://svelte-email-rjaapma15-konzeptfabrik.vercel.app';

	export let authorName = 'Alex';
	export let showFeedbackButton = true;
	export let showLogoImage = true;
	export let feedbackButtonText = 'Send My Feedback';
	export let authorImage = `${baseUrl}/airbnb-review-user.jpeg`;
	export let logoImage = `${baseUrl}/airbnb-logo.png`;
	export let reviewText = `“Zeno was a great guest! Easy communication, the apartment was left
	  in great condition, very polite, and respectful of all house rules.
	  He’s welcome back anytime and would easily recommend him to any
	  host!”`;
	export let bottomAddress = "Airbnb, Inc., 888 Brannan St, San Francisco, CA 94103";

	const previewText = `Read ${authorName}'s review`;

	const fontFamily =
		'-apple-system,BlinkMacSystemFont,"Segoe UI",Roboto,Oxygen-Sans,Ubuntu,Cantarell,"Helvetica Neue",sans-serif';

	const main = {
		backgroundColor: '#ffffff'
	};

	const container = {
		margin: '0 auto',
		padding: '20px 0 48px',
		width: '580px'
	};

	const userImage = {
		margin: '0 auto',
		marginBottom: '16px',
		borderRadius: '50%'
	};

	const heading = {
		fontFamily,
		fontSize: '32px',
		lineHeight: '1.3',
		fontWeight: '700',
		color: '#484848'
	};

	const paragraph = {
		fontFamily,
		fontSize: '18px',
		lineHeight: '1.4',
		color: '#484848'
	};

	const review = {
		...paragraph,
		padding: '24px',
		backgroundColor: '#f2f3f3',
		borderRadius: '4px'
	};

	const button = {
		fontFamily,
		backgroundColor: '#ff5a5f',
		borderRadius: '3px',
		color: '#fff',
		fontSize: '18px',
		textDecoration: 'none',
		textAlign: 'center' as const,
		display: 'block',
		width: '100%'
	};

	const link = {
		...paragraph,
		color: '#ff5a5f',
		display: 'block'
	};

	const reportLink = {
		fontFamily,
		fontSize: '14px',
		color: '#9ca299',
		textDecoration: 'underline'
	};

	const hr = {
		borderColor: '#cccccc',
		margin: '20px 0'
	};

	const footer = {
		fontFamily,
		color: '#9ca299',
		fontSize: '14px',
		marginBottom: '10px'
	};

</script>

<Html>
	<Head />
	<Preview preview={previewText} />
	<Section style={main}>
		<Container style={container}>
            {#if showLogoImage}
			    <Img src={logoImage} width="96" height="30" alt="Airbnb" />
            {/if}
			<Section>
				<Img src={authorImage} width="96" height="96" alt={authorName} style={userImage} />
			</Section>
			<Heading style={heading}>Here's what {authorName} wrote</Heading>
			<Text style={review}>{reviewText}</Text>
			<Text style={paragraph}>
				Now that the review period is over, we’ve posted {authorName}’s review to your Airbnb
				profile.
			</Text>
			<Text style={paragraph}>
				While it’s too late to write a review of your own, you can send your feedback to {authorName}
				using your Airbnb message thread.
			</Text>
			<Section style={{ padding: '16px 0 20px' }}>
                {#if showFeedbackButton}
				    <Button pY={19} style={button} href="https://airbnb.com/" >{feedbackButtonText}</Button>
                {/if}
			</Section>
			<Hr style={hr} />
			<Text style={{ ...paragraph, fontWeight: '700' }}>Common questions</Text>
			<Text>
				<Link href="https://airbnb.com/help/article/13" style={link}>How do reviews work?</Link>
			</Text>
			<Text>
				<Link href="https://airbnb.com/help/article/1257" style={link}>
					How do star ratings work?
				</Link>
			</Text>
			<Text>
				<Link href="https://airbnb.com/help/article/995" style={link}>
					Can I leave a review after 14 days?
				</Link>
			</Text>
			<Hr style={hr} />
			<Text style={footer}>{bottomAddress}</Text>
			<Link href="https://airbnb.com" style={reportLink}>Report unsafe behavior</Link>
		</Container>
	</Section>
</Html>
4. Create a Novu Workflow
Next, create a Novu workflow with an email step. This code-first notification workflow approach makes it easy for product teams to modify notification content.
// src/lib/novu/workflows.ts

import { Client, workflow } from '@novu/framework';
import { render } from 'svelte-email';
import AirbnbReview from '$lib/emails/airbnb-review.svelte';

export const client = new Client({

  /**
   * The Novu API key is needed for when you
   * need to sync to Novu Cloud
   */
  apiKey: process.env.NOVU_API_KEY,
  /**
   * Disable this flag only during local development
   * For production this should be true
   */
  strictAuthentication: process.env.NODE_ENV !== "development"
});

export const svelteWorkflow = workflow('airbnb-review', async ({ step, payload }) => {
    await step.email(
        'send-email',
        async (inputs) => {
            const html = render({
                template: AirbnbReview,
                props: {
                    authorName: inputs.authorName,
                    showFeedbackButton: inputs.showFeedbackButton,
                    showLogoImage: inputs.showLogoImage,
                    feedbackButtonText: inputs.feedbackButtonText,
                    bottomAddress: inputs.bottomAddress,
                    authorImage: inputs.authorImage,
                    logoImage: inputs.logoImage
                },
            });
            return {
                subject: `Here's Your Host Feedback`,
                body: html,
            }
        }, {
            inputSchema: {
                type: "object",
                properties: {
                  showFeedbackButton: { type: "boolean", default: true },
                  showLogoImage: { type: "boolean", default: true },
                  authorName: { type: "string", default: "Alex" },
                  feedbackButtonText: { type: "string", default: "Send My Feedback" },
                  authorImage: {
                    type: "string",
                    default: "https://react-email-demo-bdj5iju9r-resend.vercel.app/static/vercel-user.png",
                    format: "uri",
                  },
                  logoImage: {
                    type: "string",
                    default: "https://svelte-email-rjaapma15-konzeptfabrik.vercel.app/airbnb-logo.png",
                    format: "uri",
                  },
                  bottomAddress: {
                    type: "string",
                    default: "Airbnb, Inc., 888 Brannan St, San Francisco, CA 94103",
                  },
                },
            },
        });
    }
);
5. Preview Email Workflow & Sync to Novu Cloud
Open Dev Studio to preview and make changes to the email workflow as needed via the command below:
npx novu-labs@latest echo
- Run the Studio
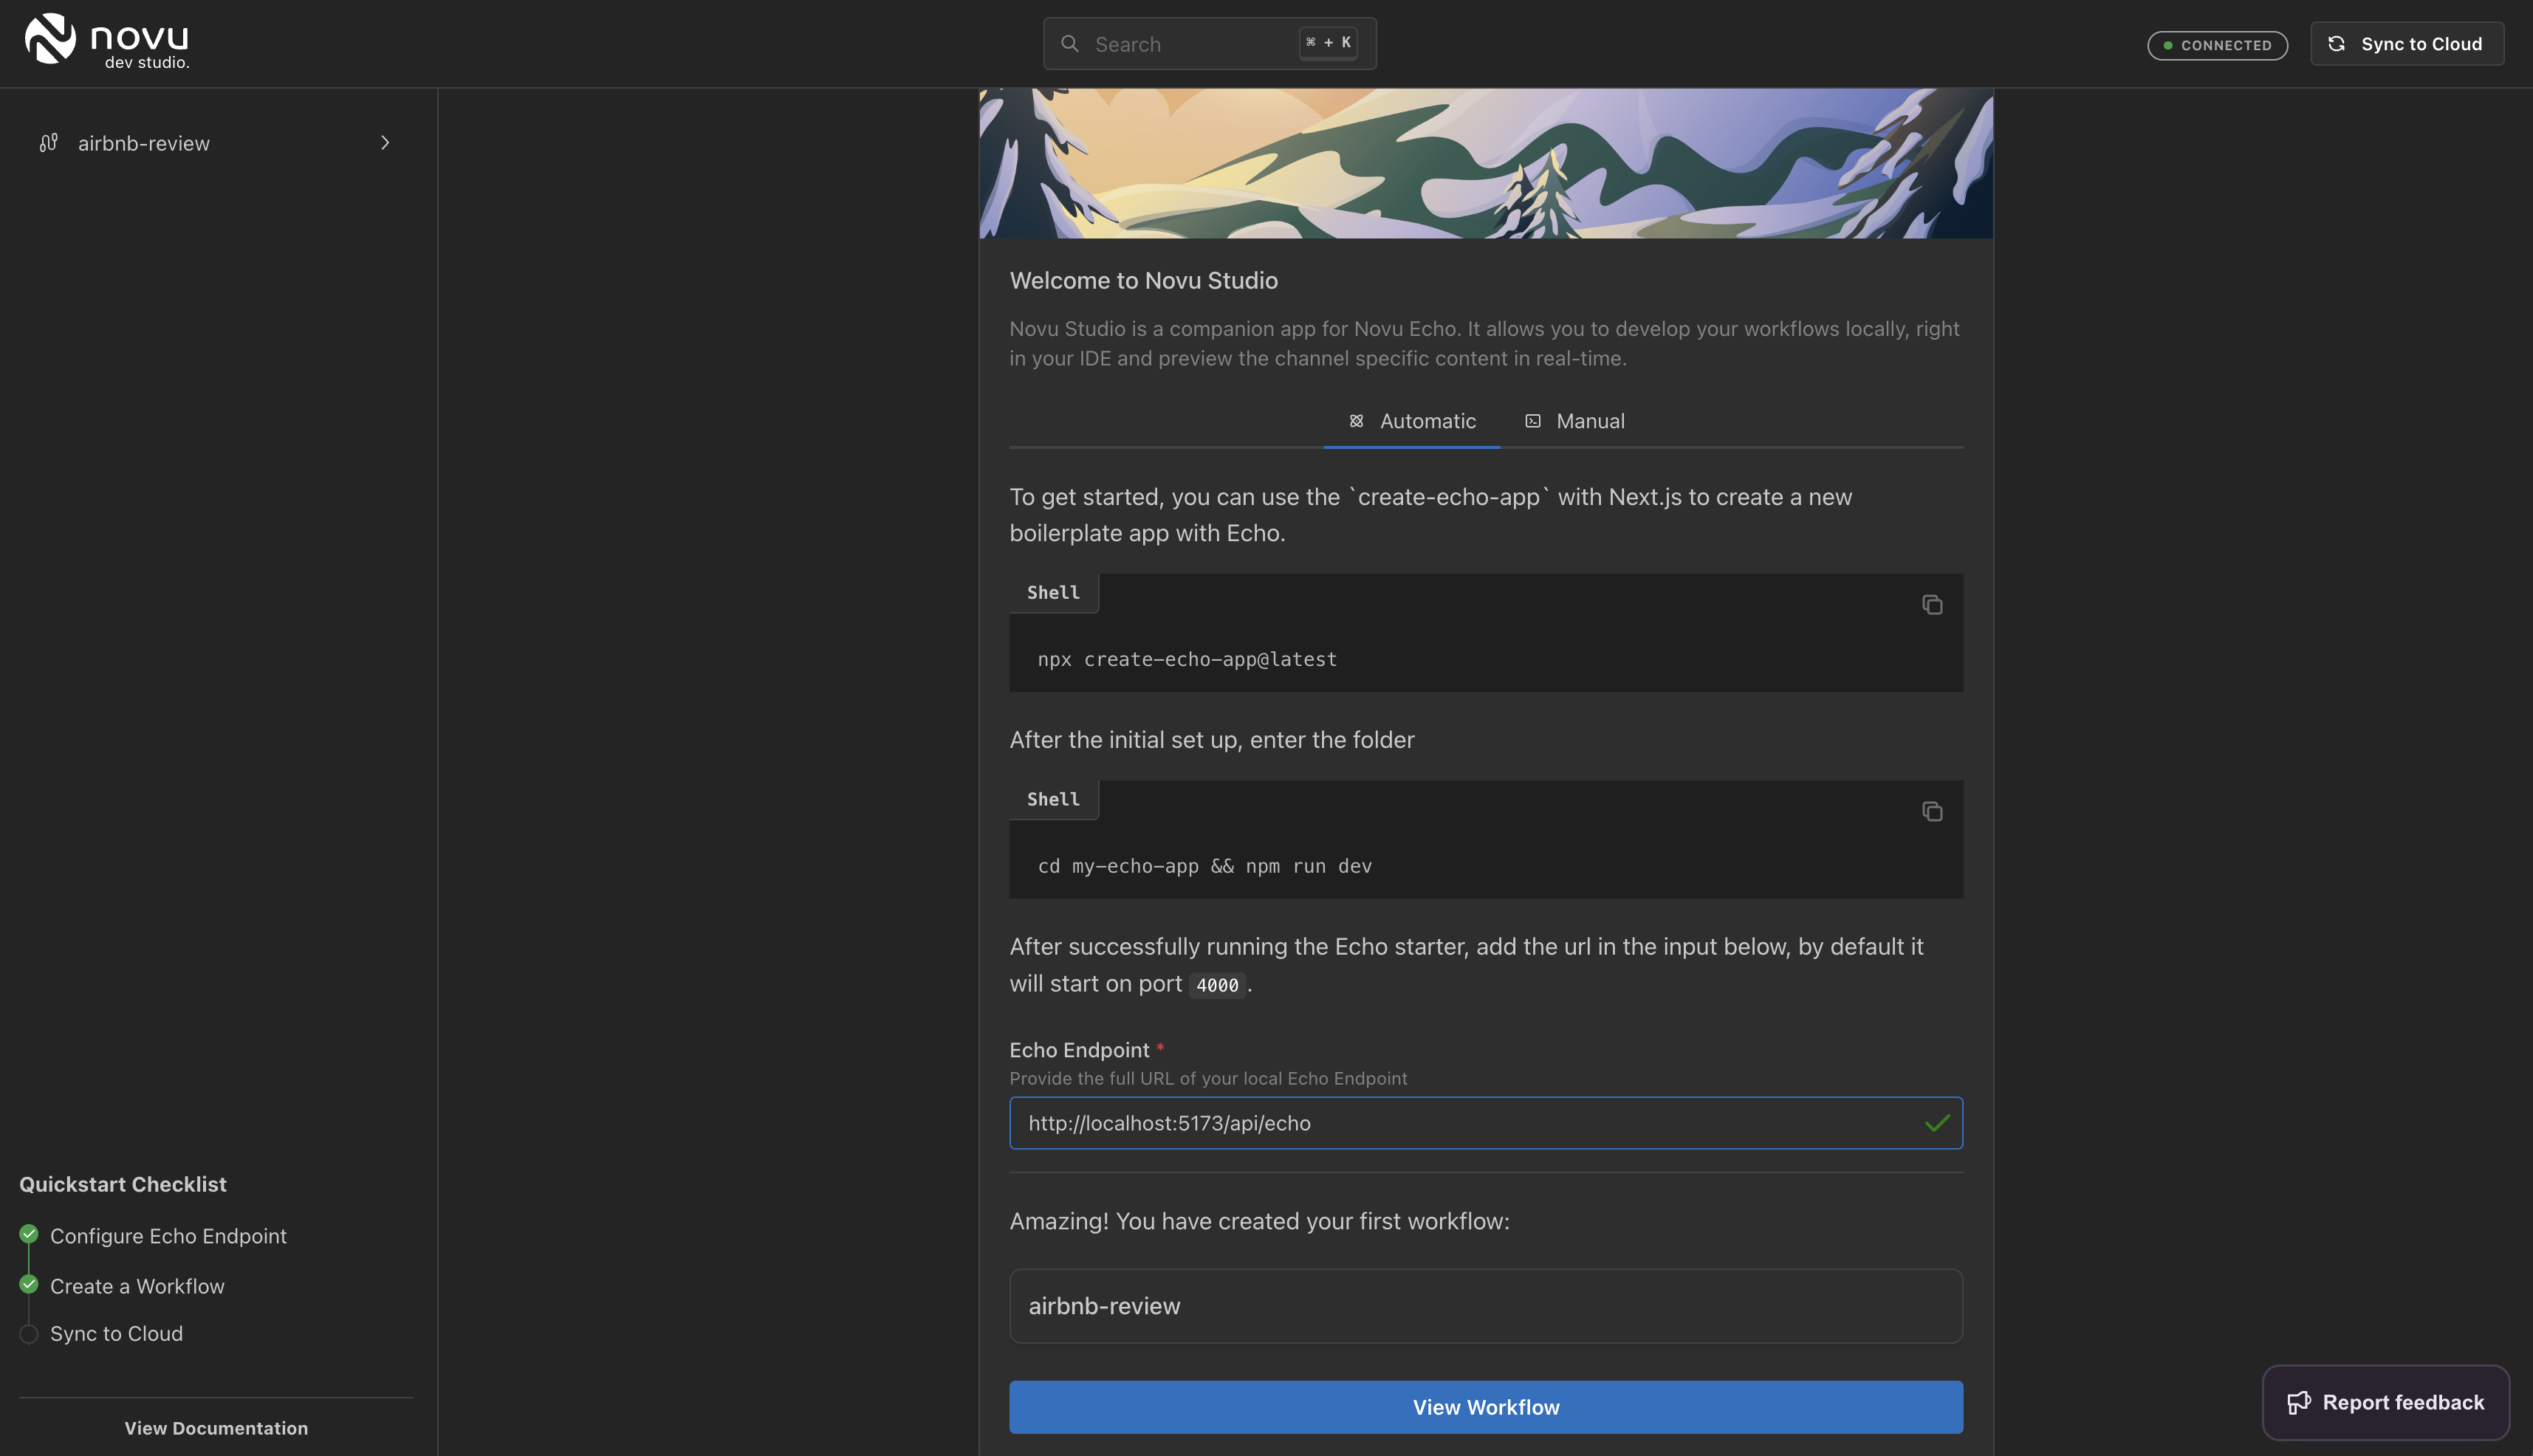
Novu Dev Studio on the first run
Note: Use the port on which your Svelte app is running for the Bridge endpoint so that the Novu Dev Studio can connect to your API route.
- Check out the email workflow and test
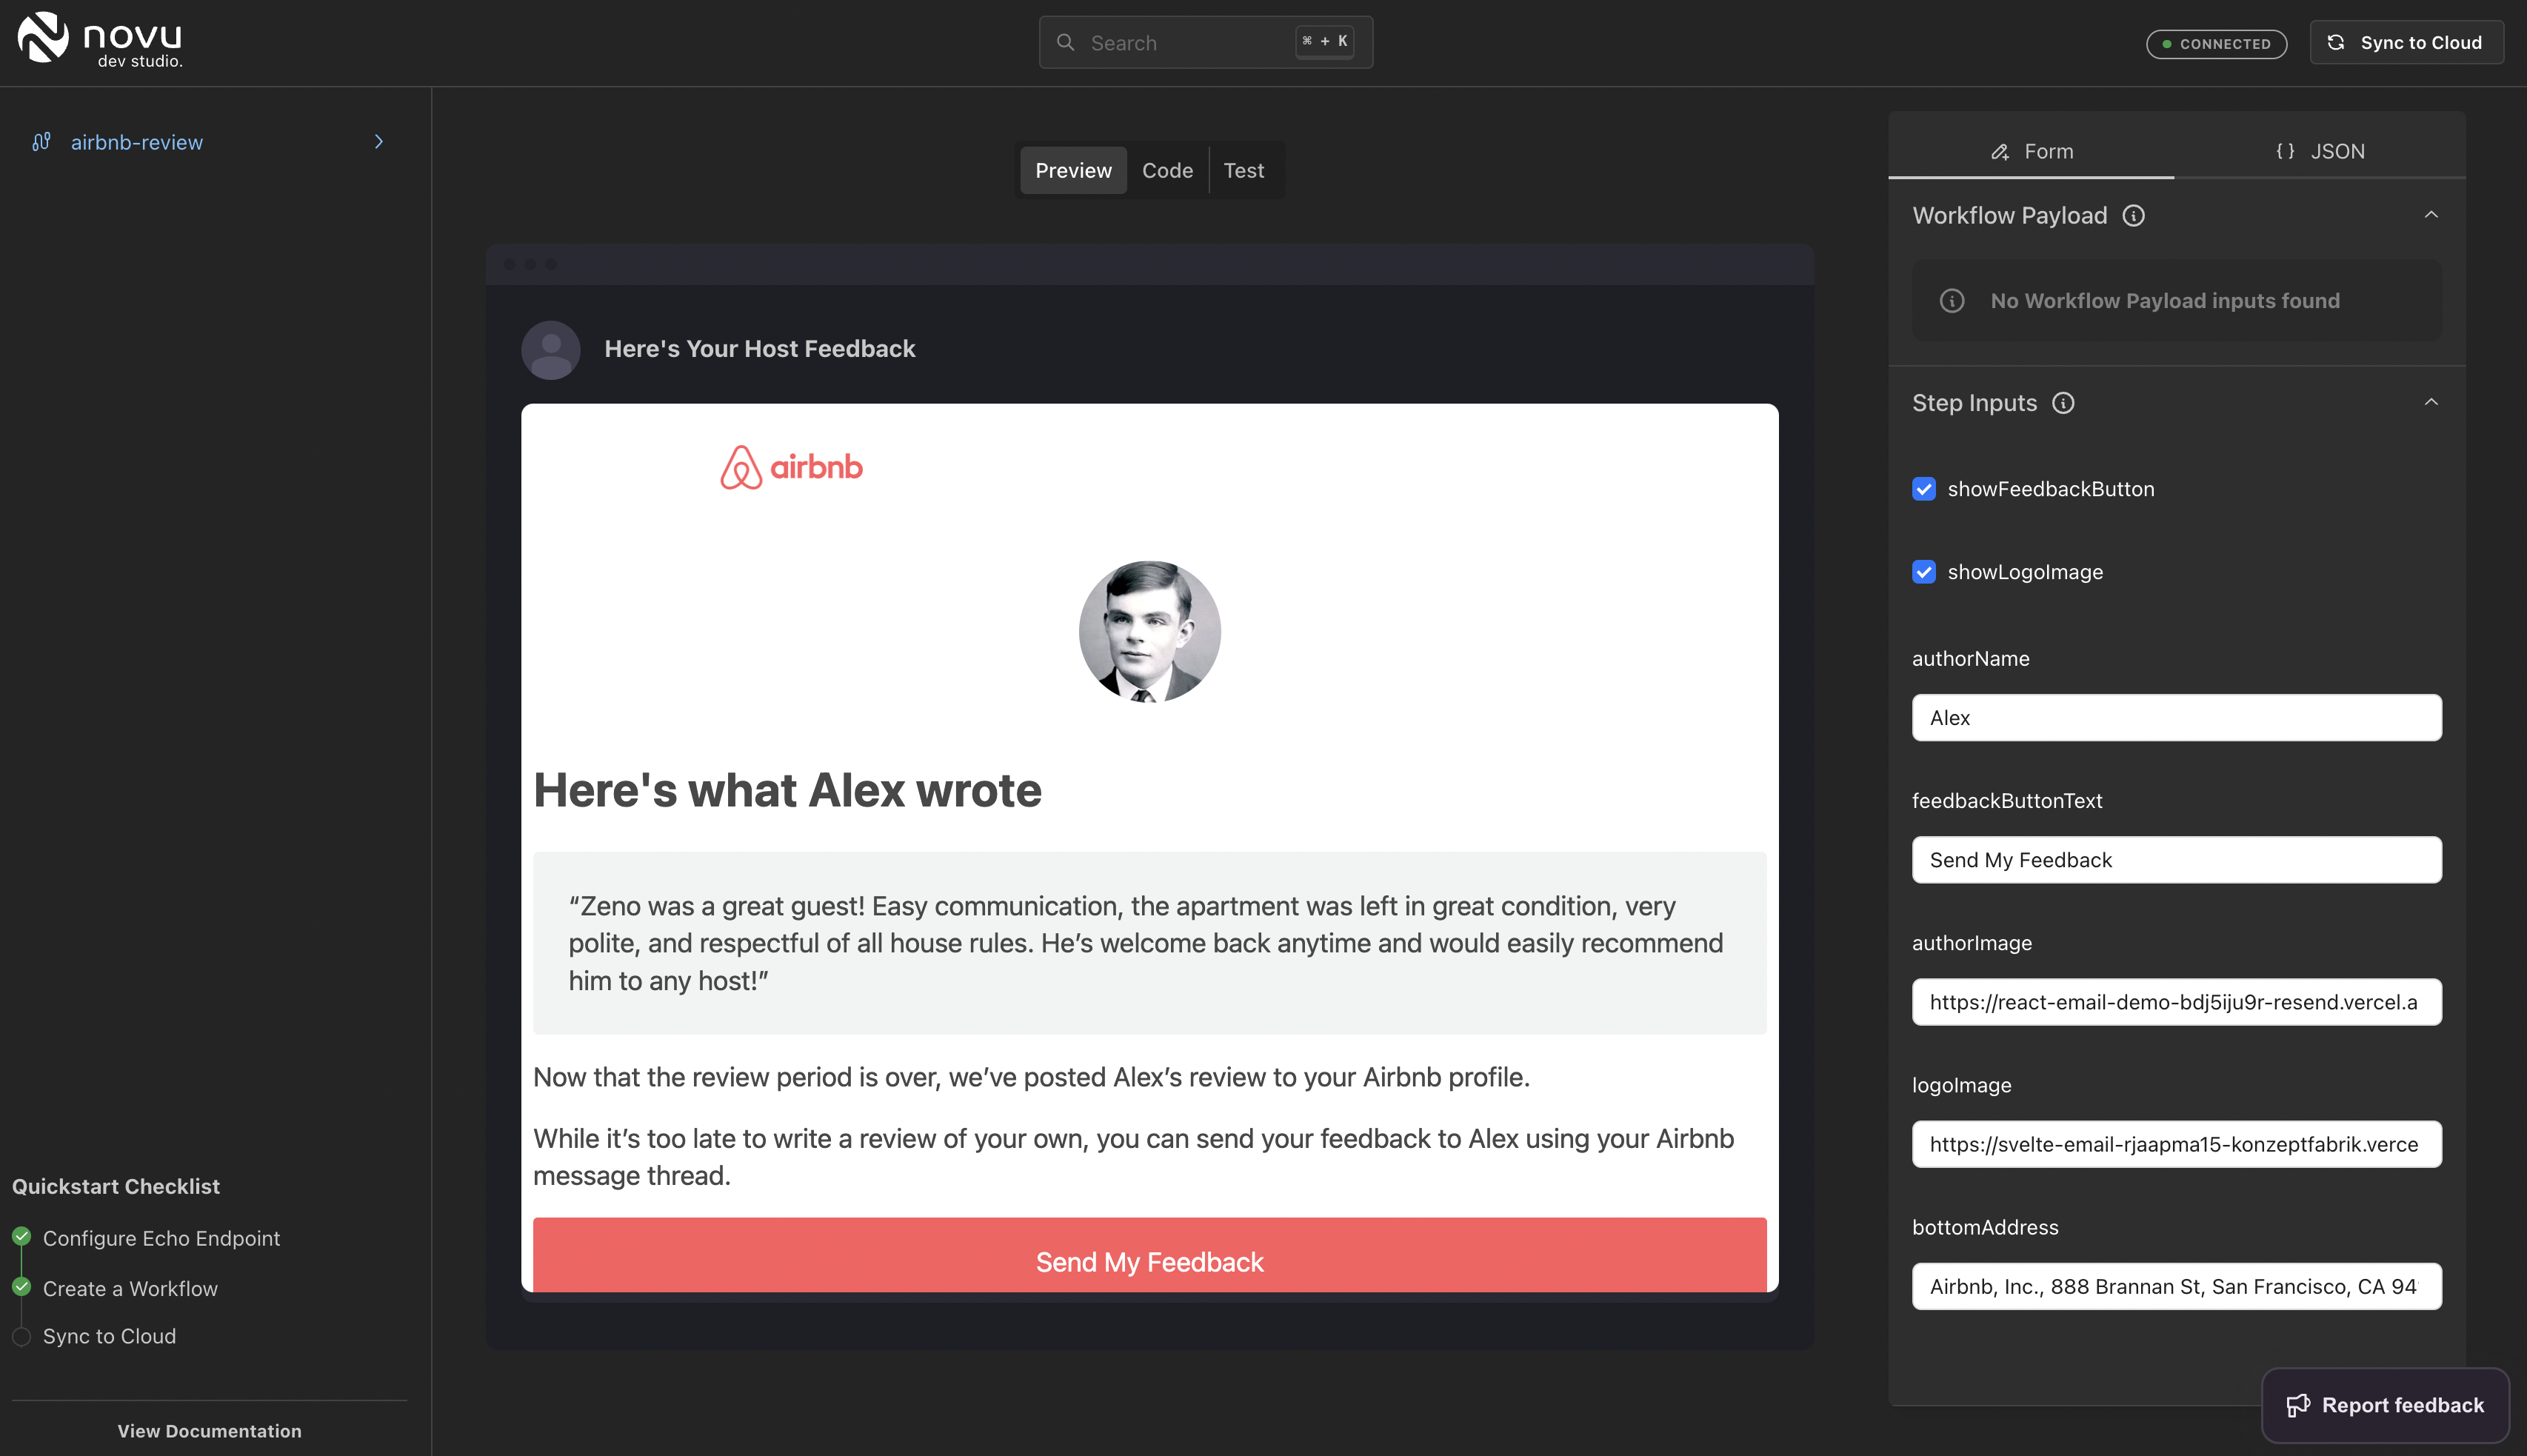
Preview Email workflow with Step Inputs & Payload
- Deploy to Novu Cloud when you’re done.
On the top right of the Novu Dev Studio, you can sync to Novu Cloud when you’re done working locally.
Note: You’ll need to create a local tunnel that the Novu Cloud environment can reach for local experimentation purposes. Ngrok is a good tunnel.
6. Send a Notification
Trigger a notification using the recently deployed workflow either via your Novu Cloud dashboard or code.
Once you’ve built the workflow, you might want read one of our other guides on how to empower product teams to manage notification workflows.