Workflows can only be created and managed in the development environment. Once created, workflows can be synced to other environments. To learn more, refer to Environments.
Create a workflow
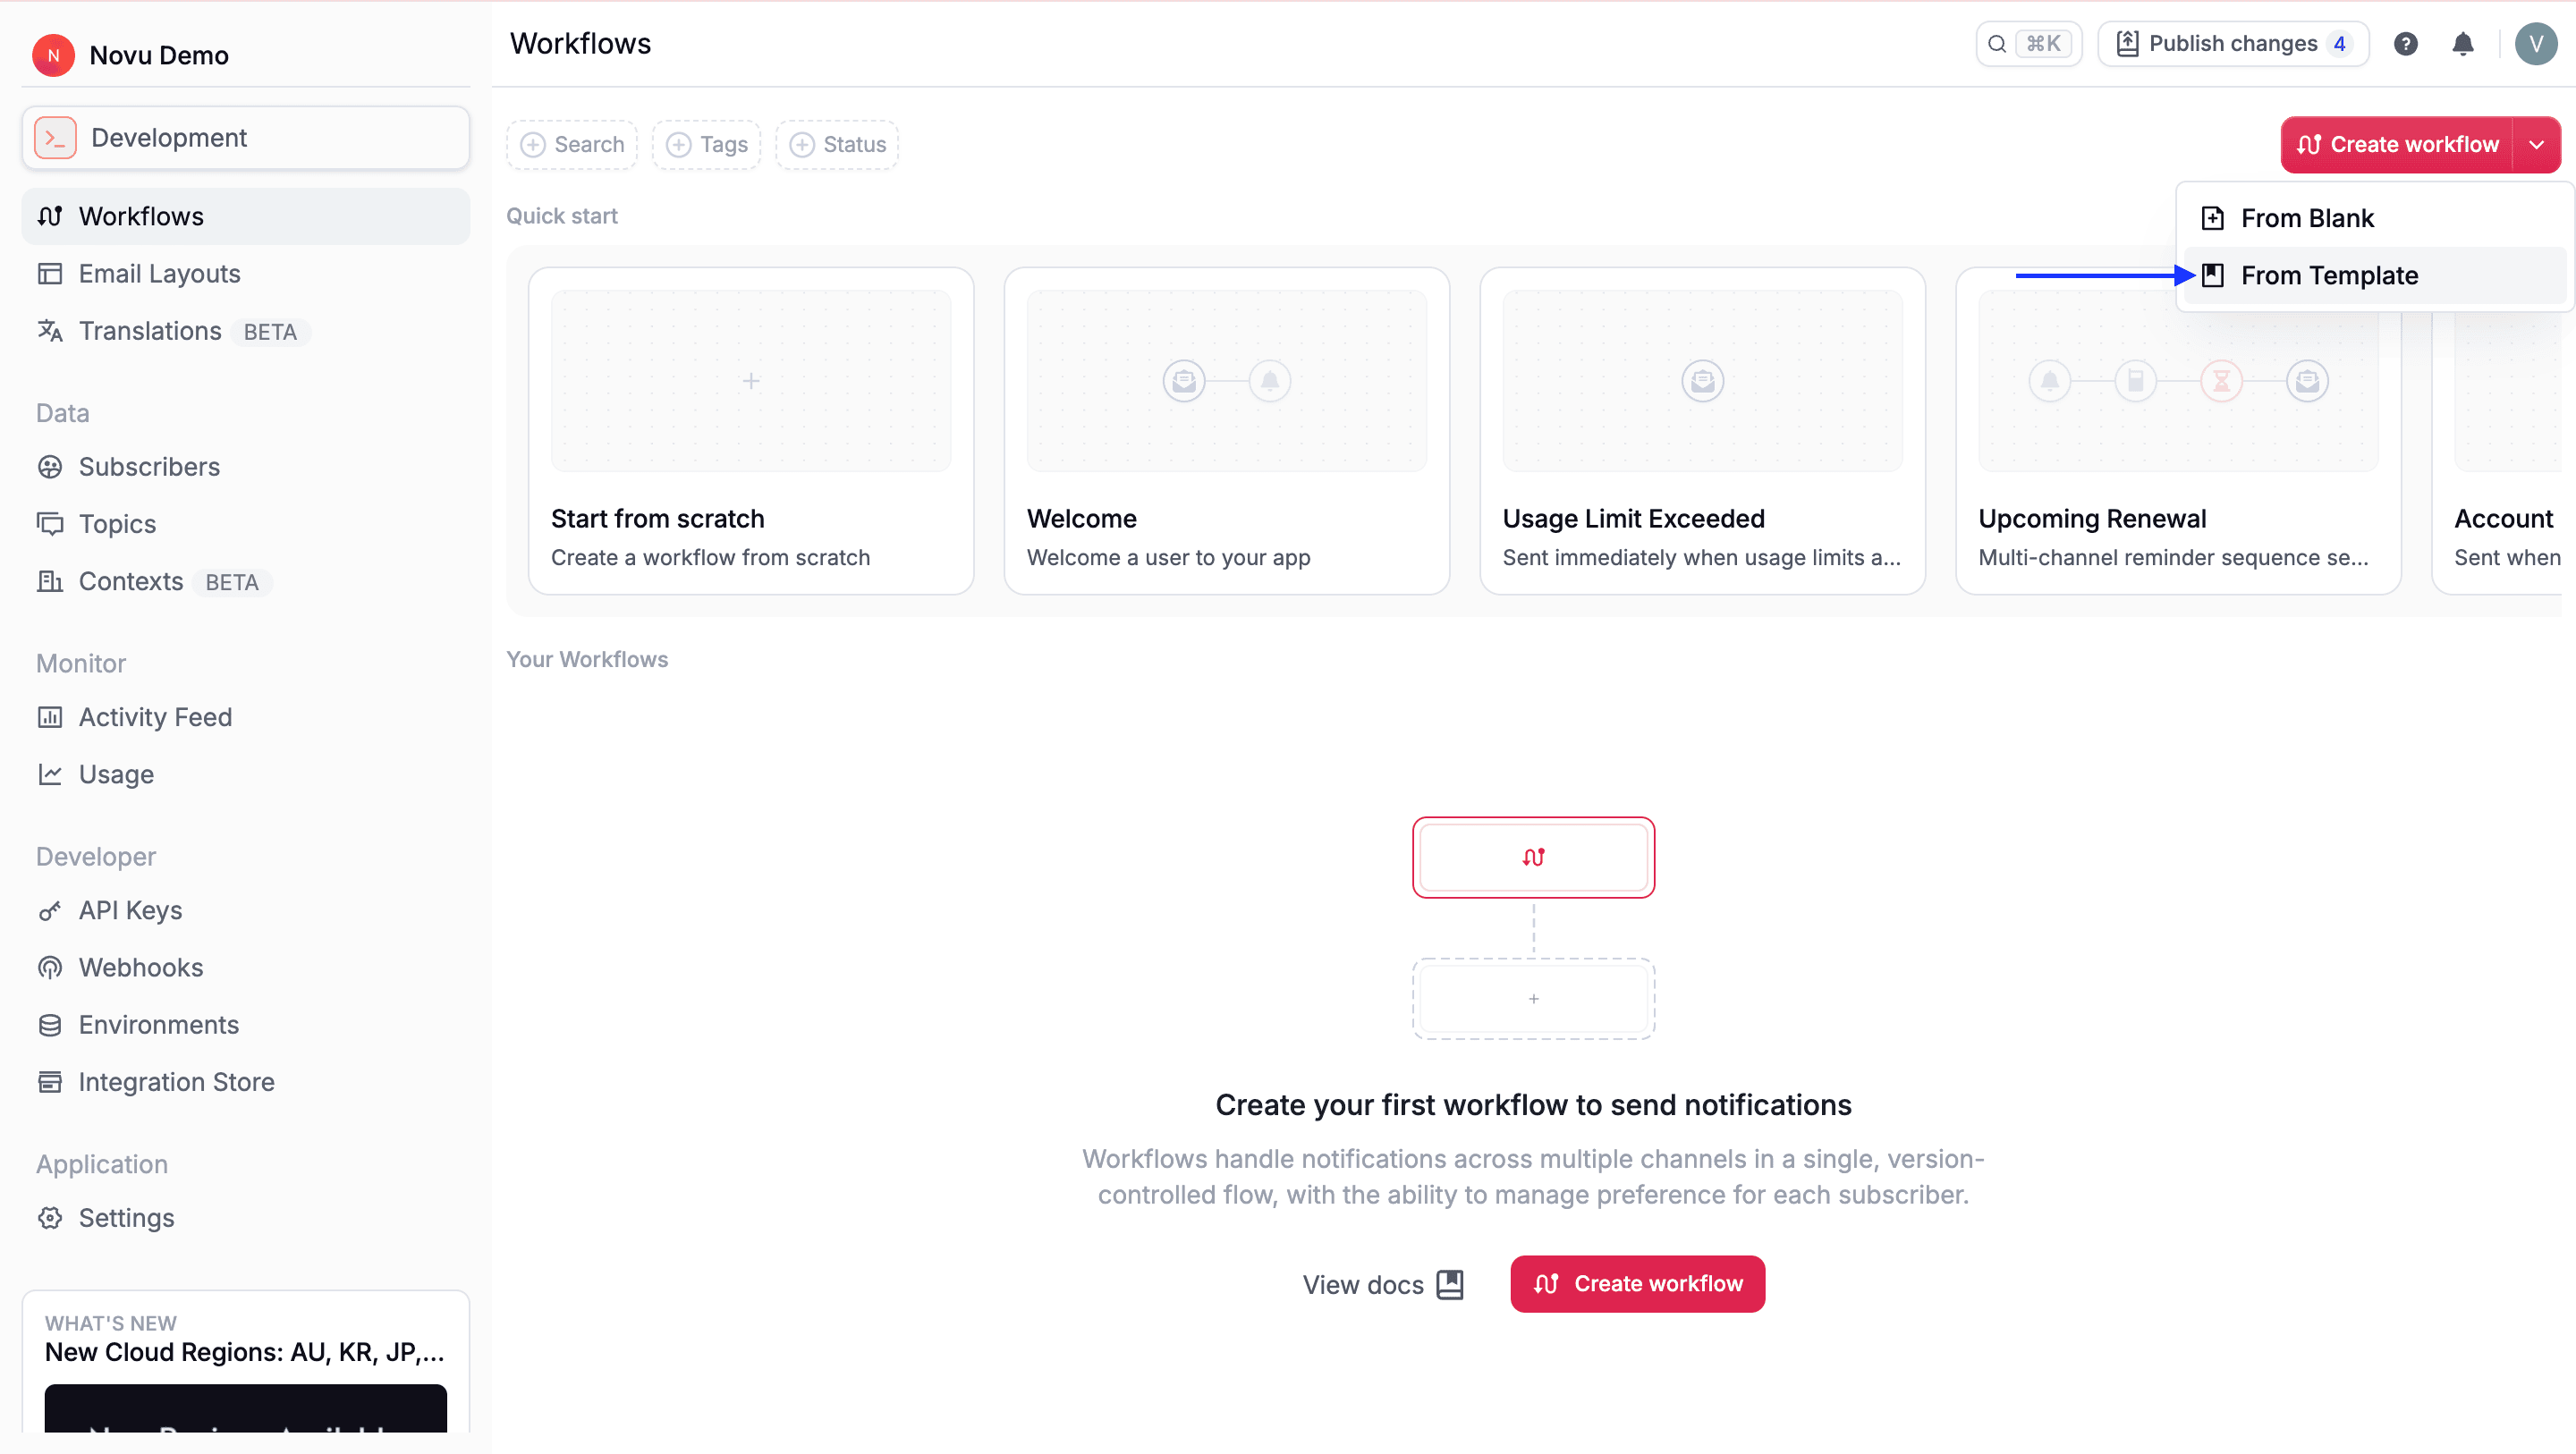
You can create a Novu workflow in the following ways:- Create from scratch: Build a custom workflow tailored to your exact needs.
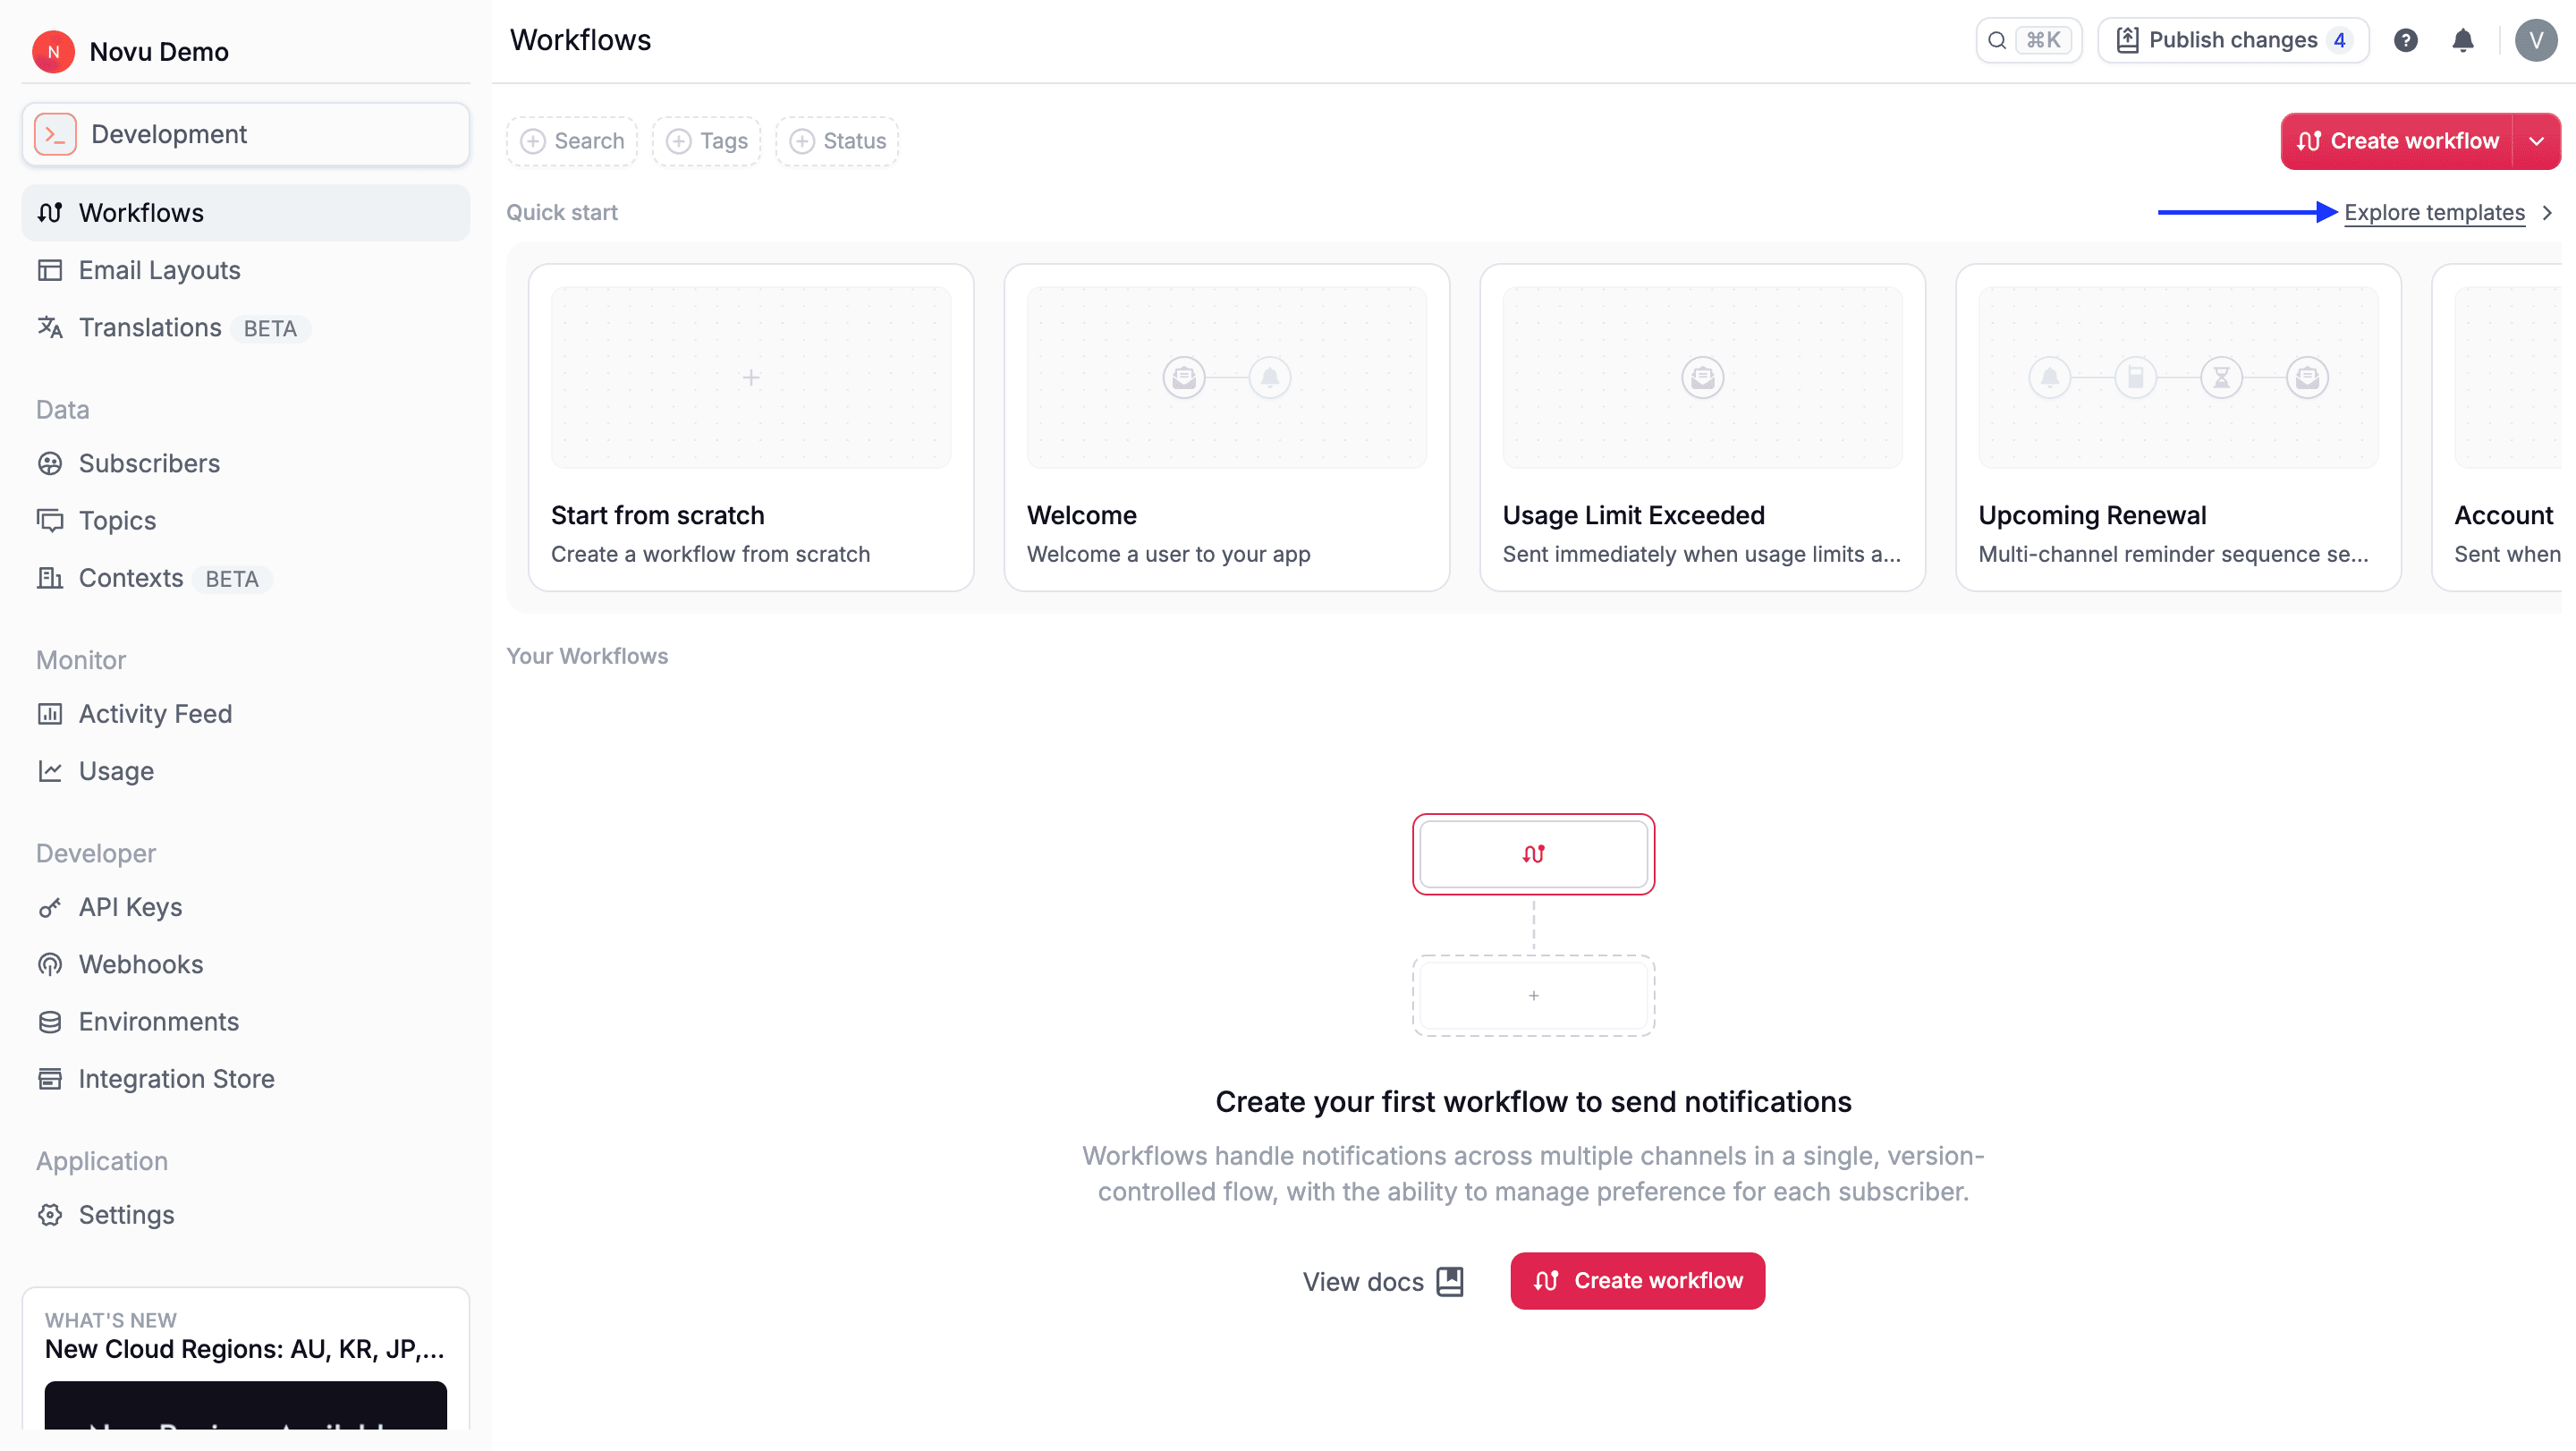
- Create from template: Start with pre-built workflows for common use cases.
- From scratch
- From template
1
Go to the Novu Dashboard
Sign in at the Novu Dashboard.
2
Navigate to Workflows
Open Workflows from the left sidebar.
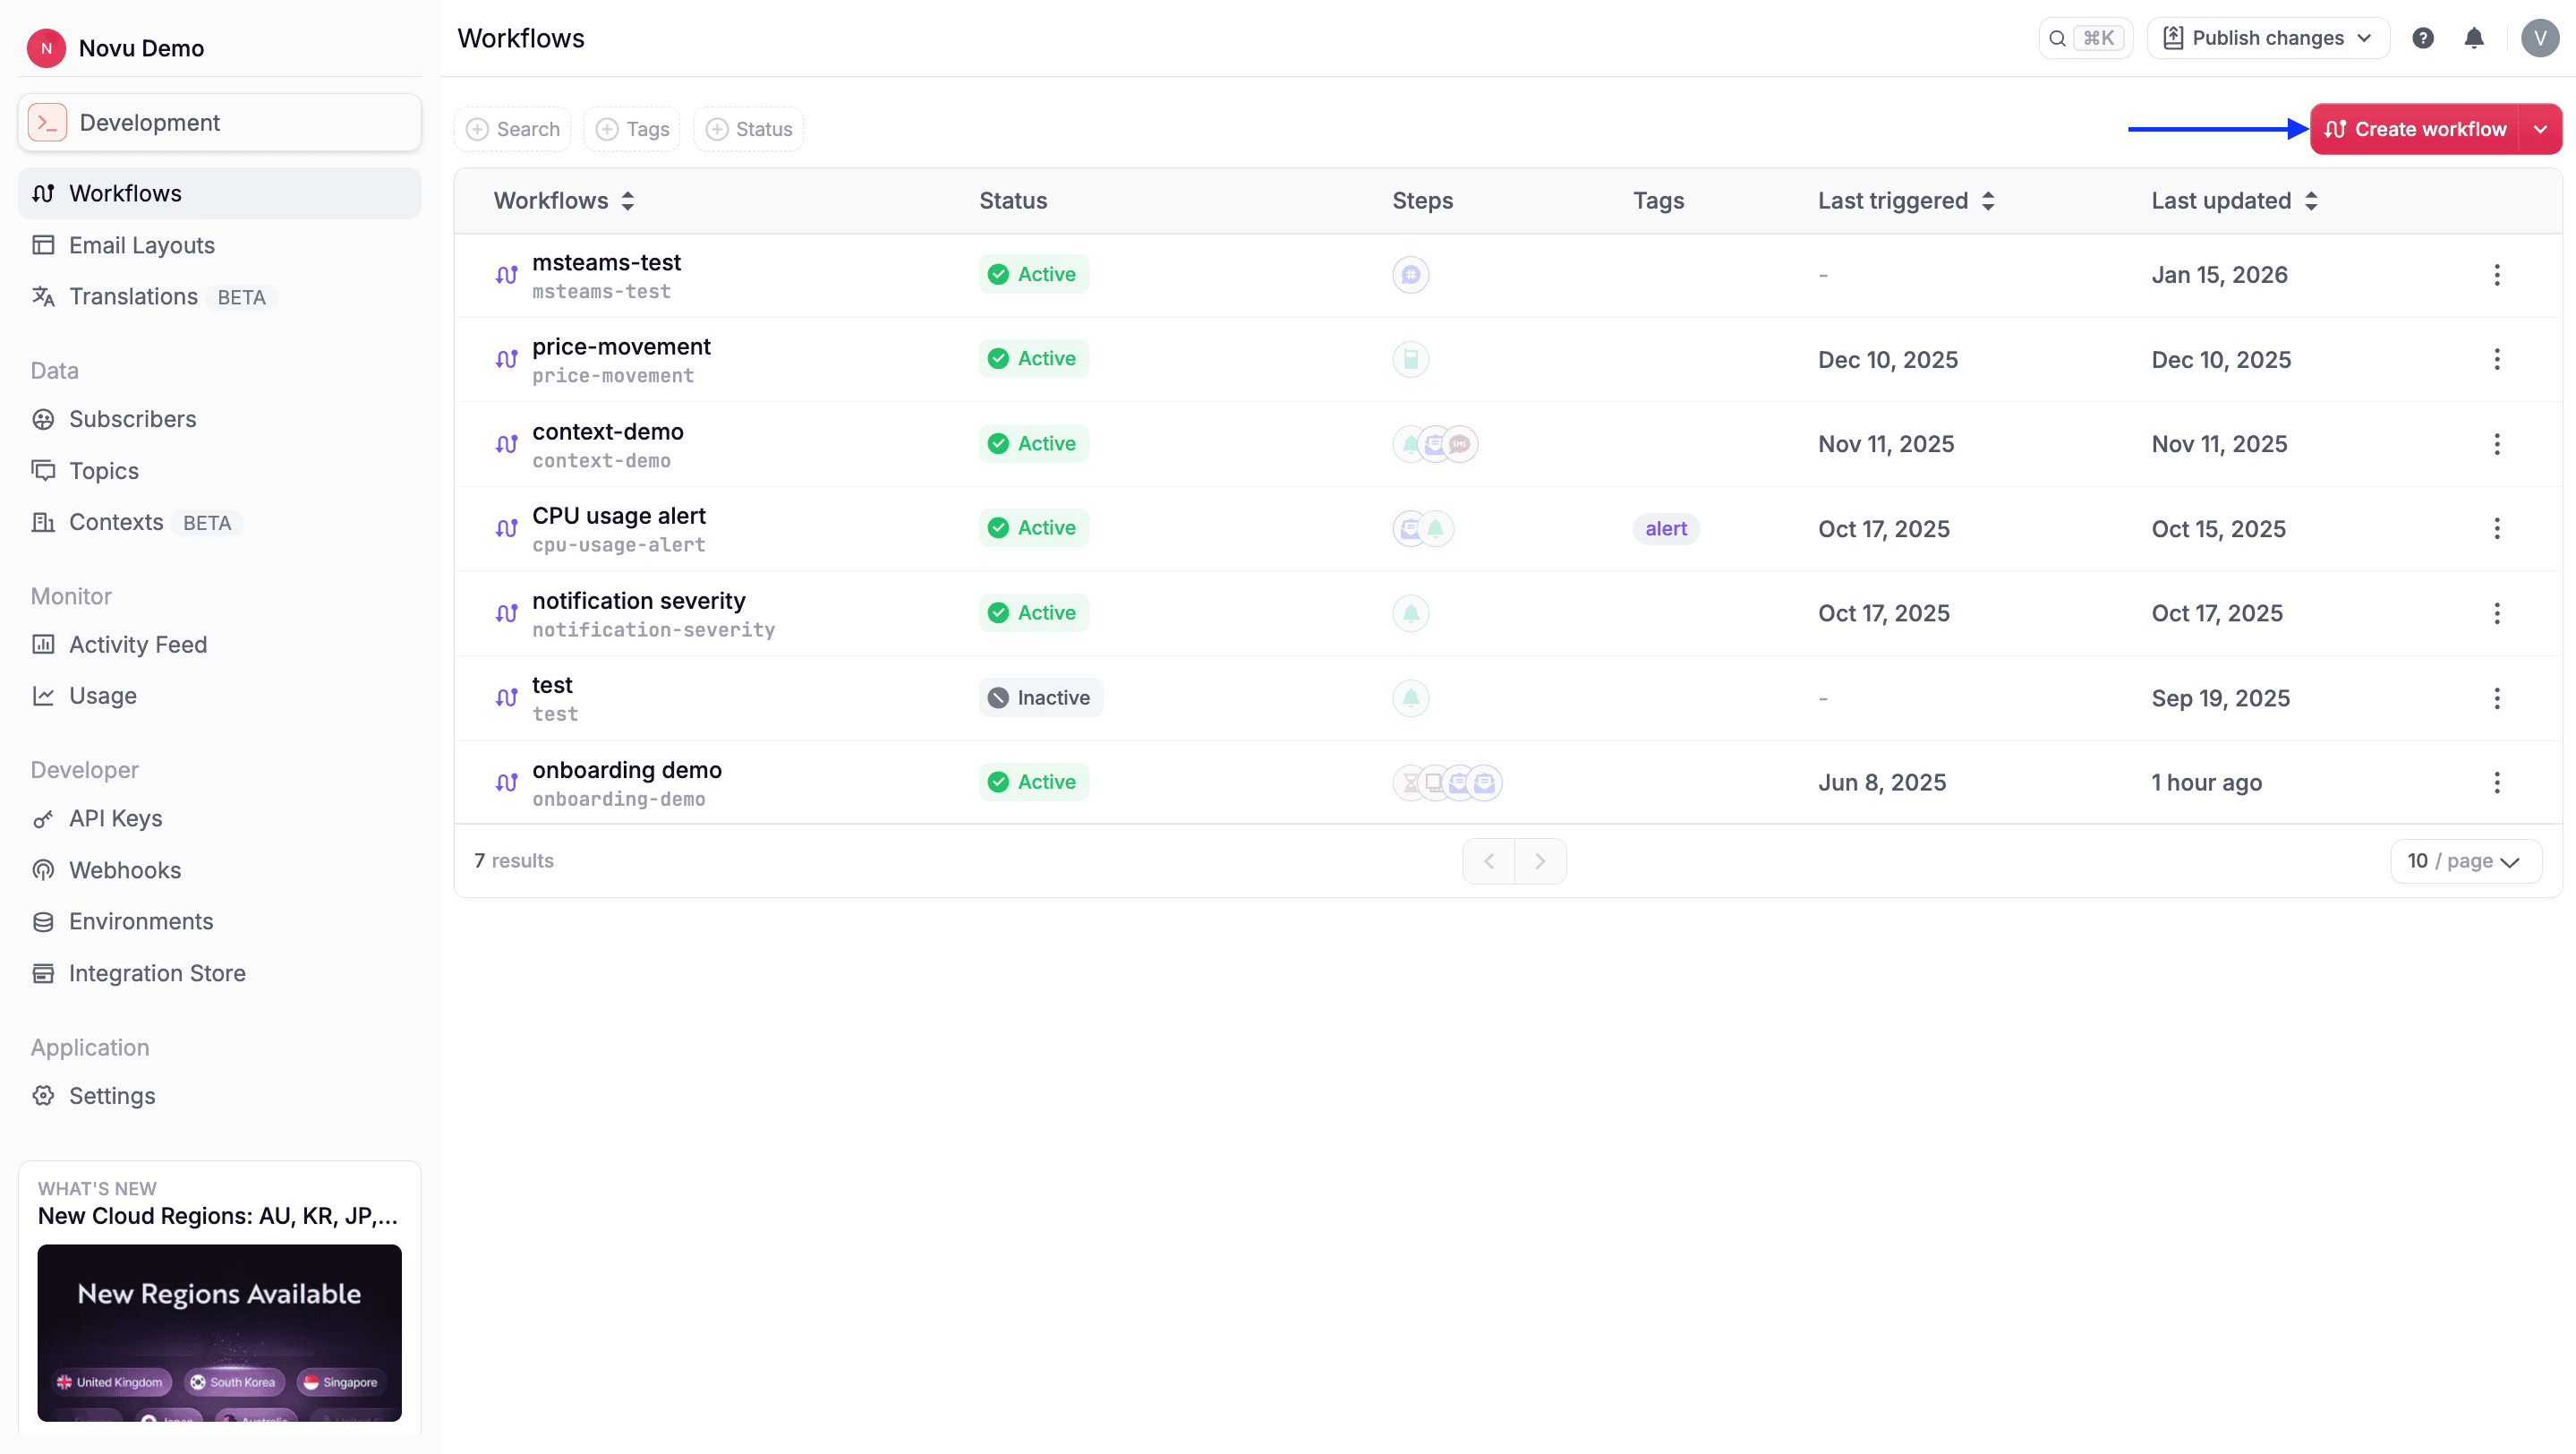
3
Click Create workflow
4
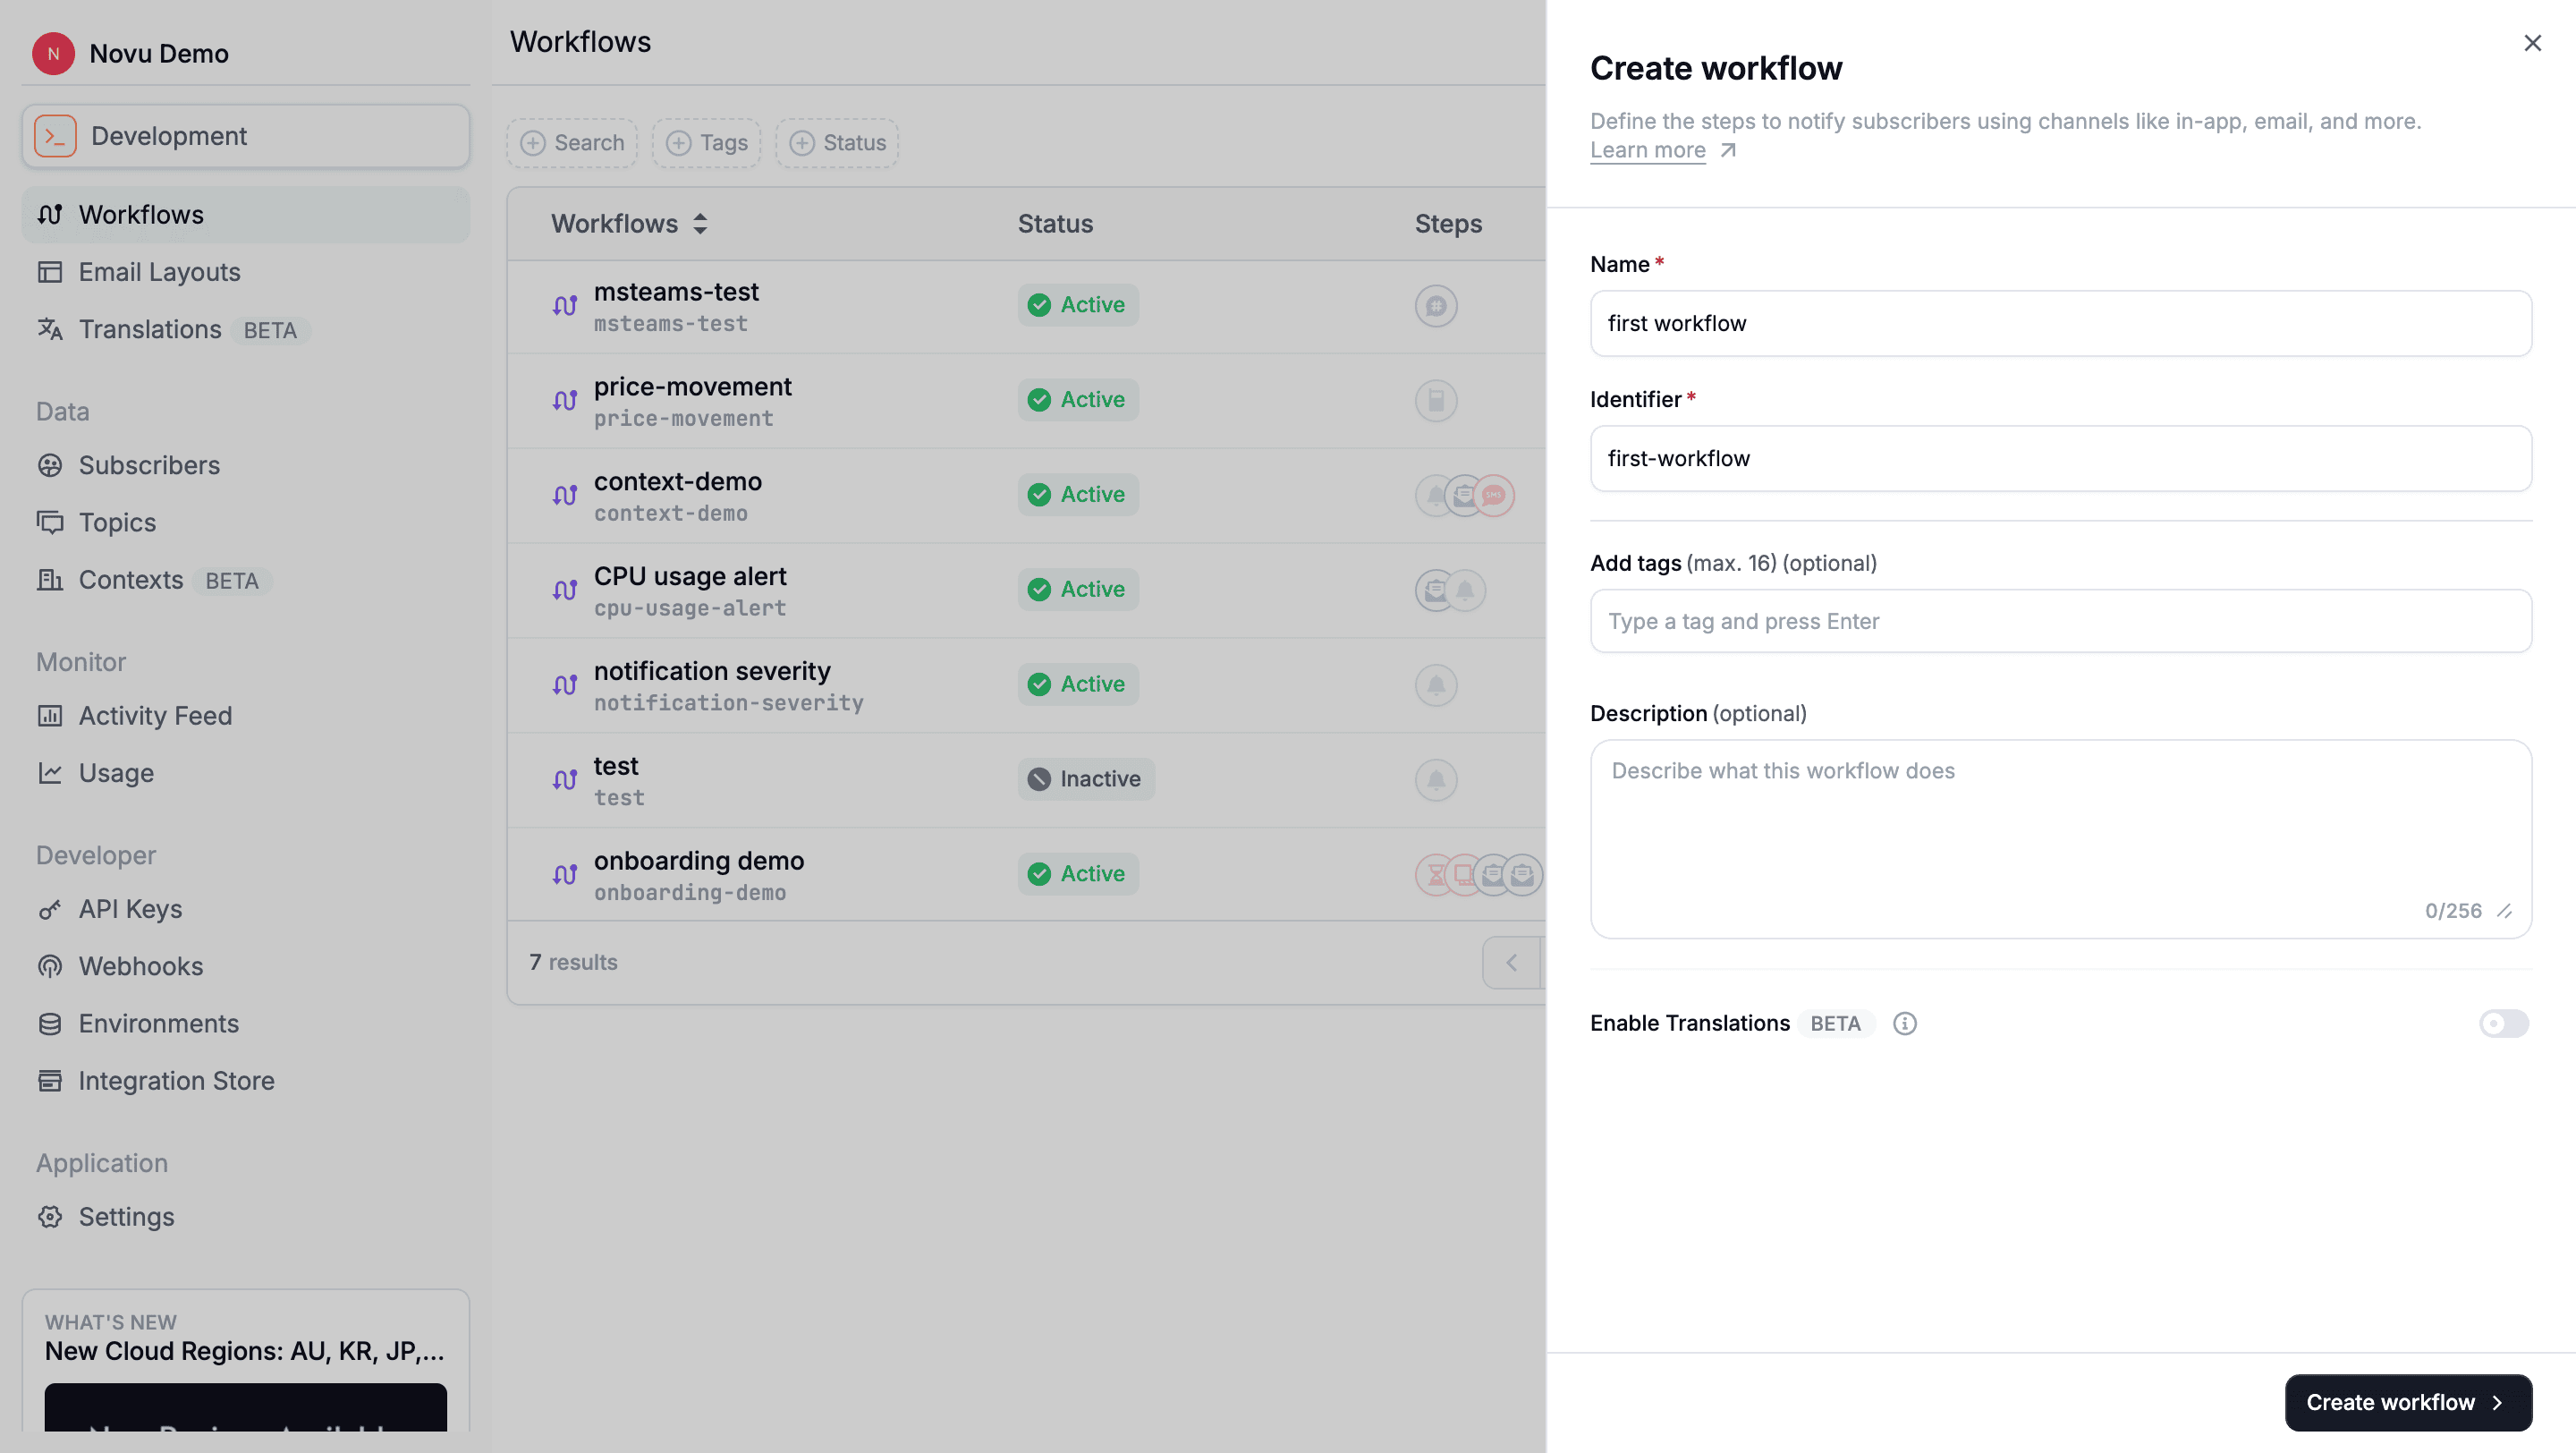
Fill in workflow details
- Name (Required): The display name shown in the dashboard. You can change this later in the workflow editor.
- Identifier (Required): The
workflowIdis immutable. It must be in a valid slug format (letters, numbers, hyphens, dots and underscores only) and must be unique within one environment.TheworkflowIdis required when triggering a workflow and when using trigger overrides. It is also used to conditionally display notifications in the<Inbox />. - Tags (Optional): Organize and categorize workflows. Tags can be added later in the workflow editor.
To learn more about Tags, refer to workflow tags.
- Description (Optional): Document the workflow’s purpose and behavior for your team. Description can be added later in the workflow editor.
5
Enable translations (optional)
Support multiple locales for this workflow. You can also enable this later in the workflow editor.
To learn more about translations, refer to Translations.
6
Create the workflow
Review the form, then click Create workflow.
Manage workflows
Once created, you can manage workflows from the Workflows page:Update a workflow
After creating a workflow, you can modify its configuration at any time from the workflow editor. This allows you to evolve notification logic without creating a new workflow. Click on any workflow to open the workflow editor, where you can:- Update name and description (identifier cannot be changed)
- Add or remove the workflow tags.
- Change workflow status.
- Configure channel preferences and payload schema.
- Add, remove, or reorder steps.
Duplicate a workflow
Duplicating a workflow lets you reuse an existing configuration as a starting point for a new workflow. This is useful when workflows share similar logic but differ in trigger identifiers, content, or steps.1
Find the workflow
Locate the workflow on the Workflows page.
2
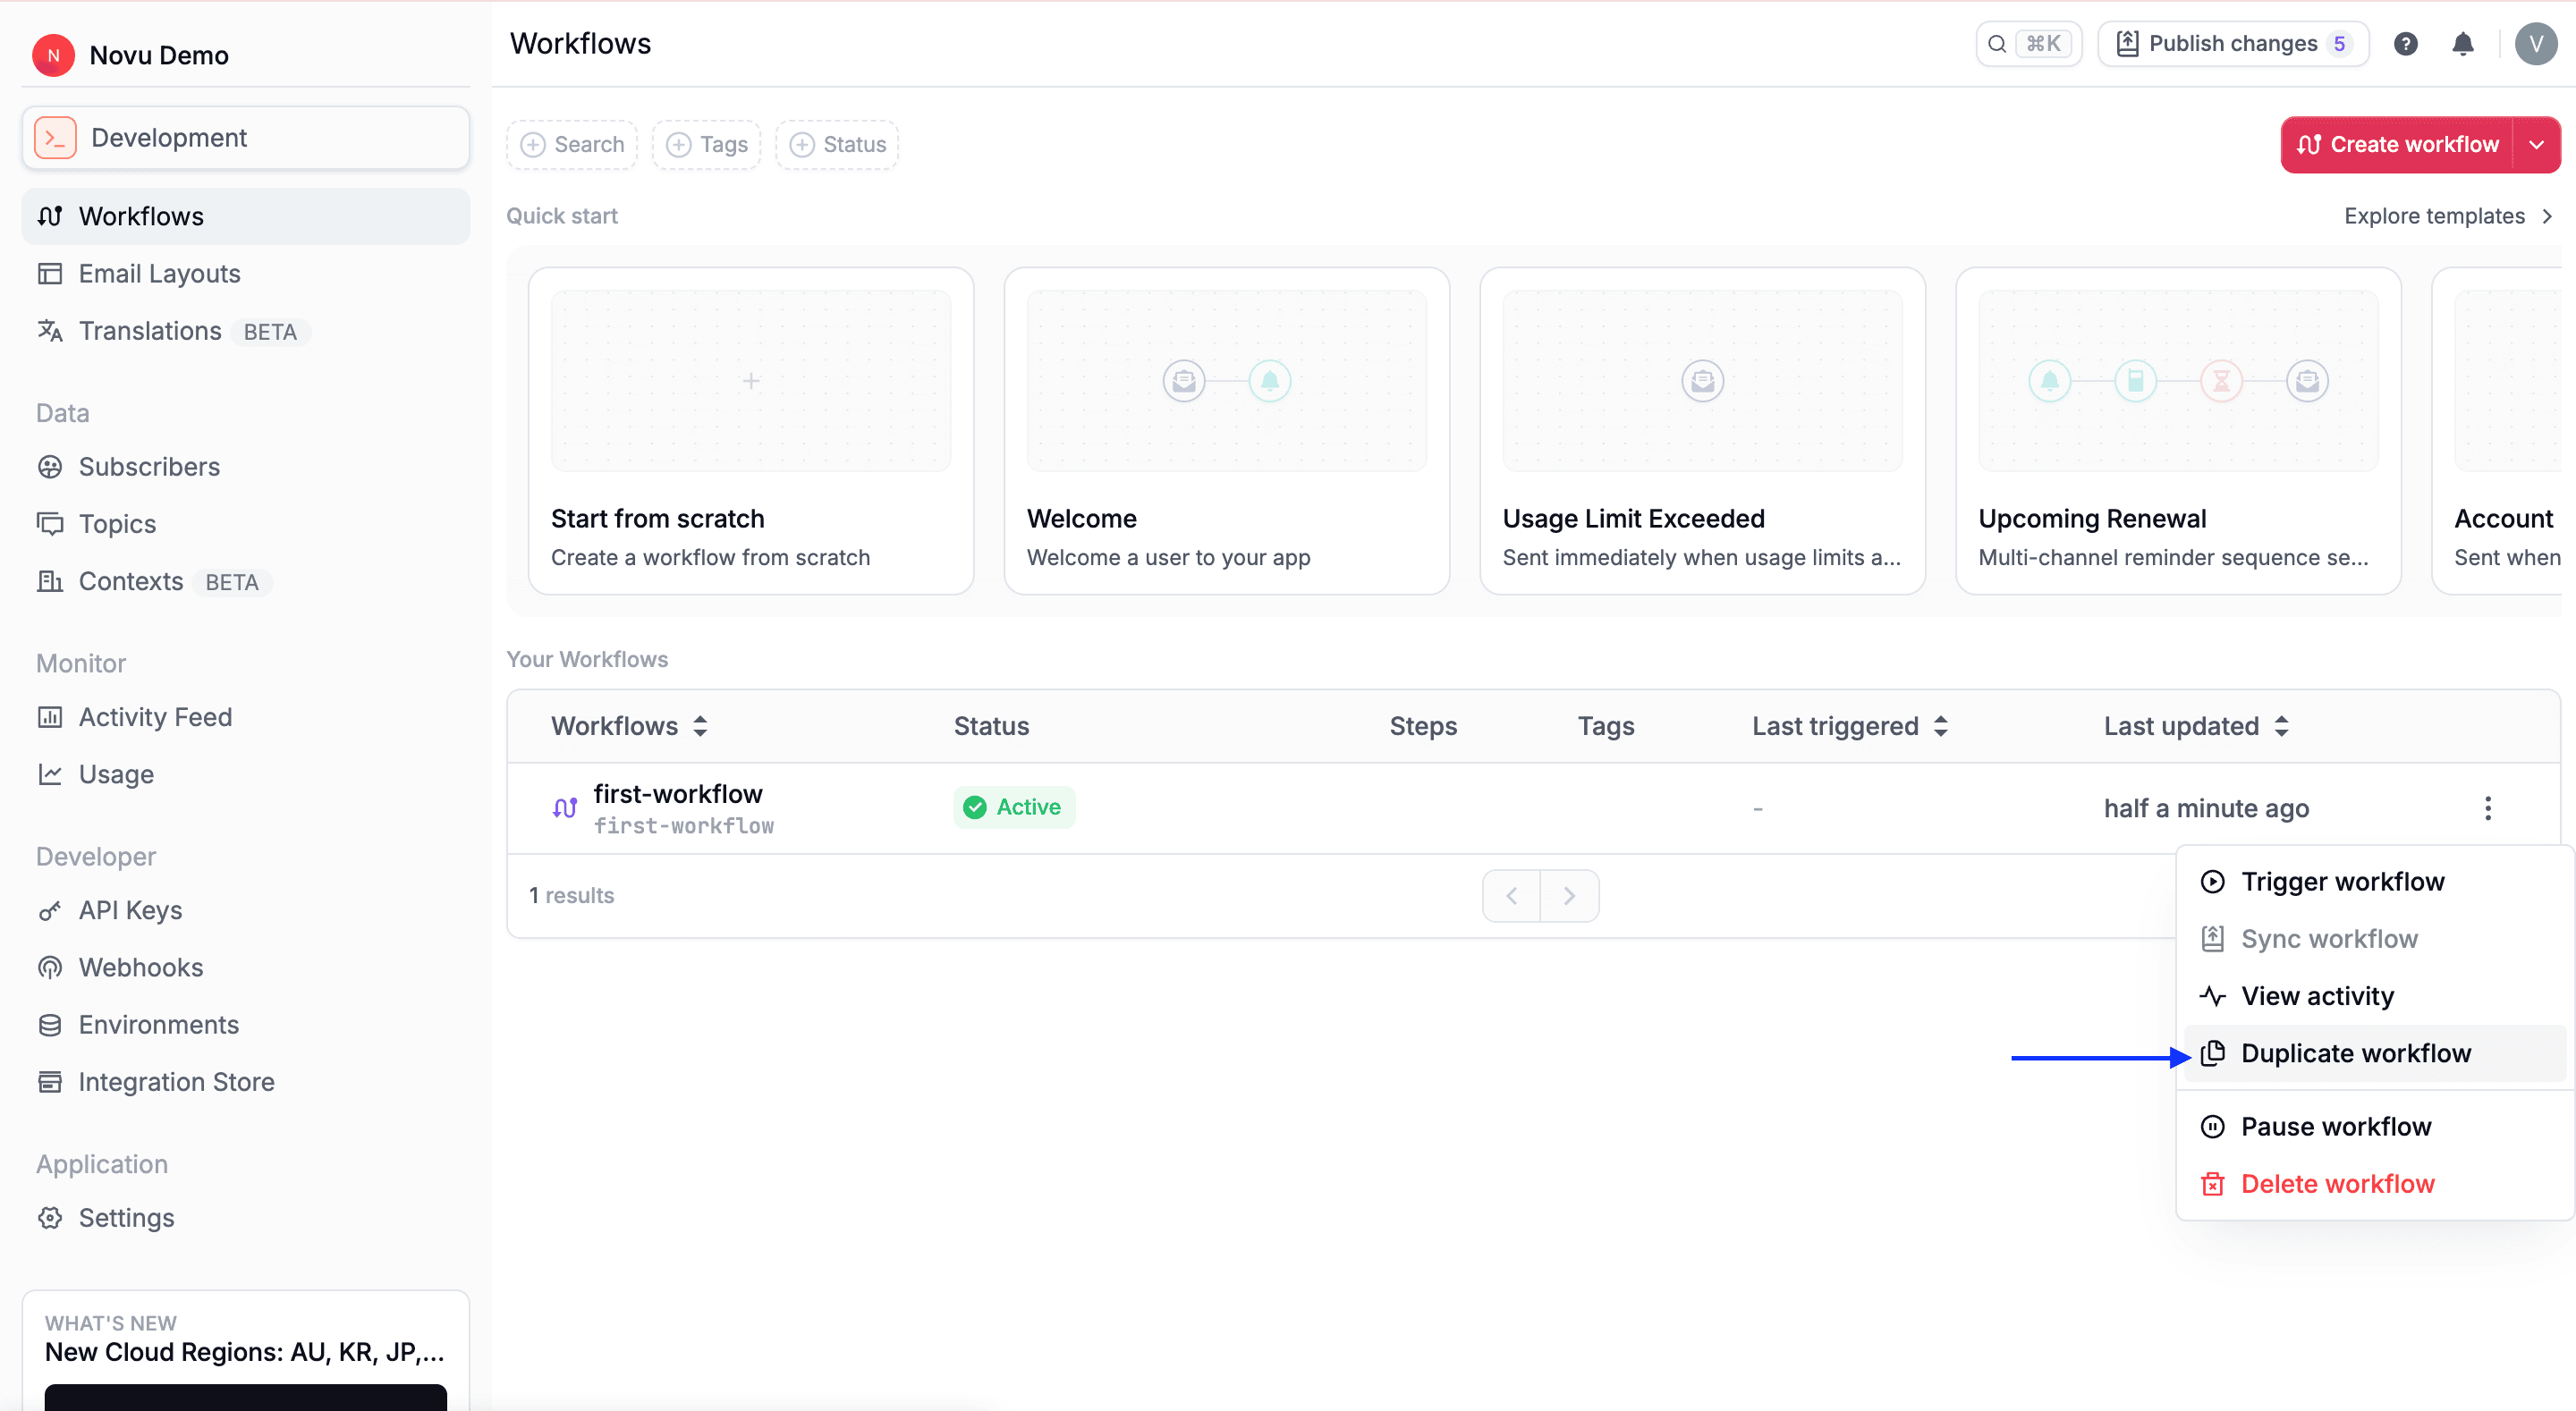
Open the menu
Click the three-dot menu (•••).
3
Select Duplicate workflow
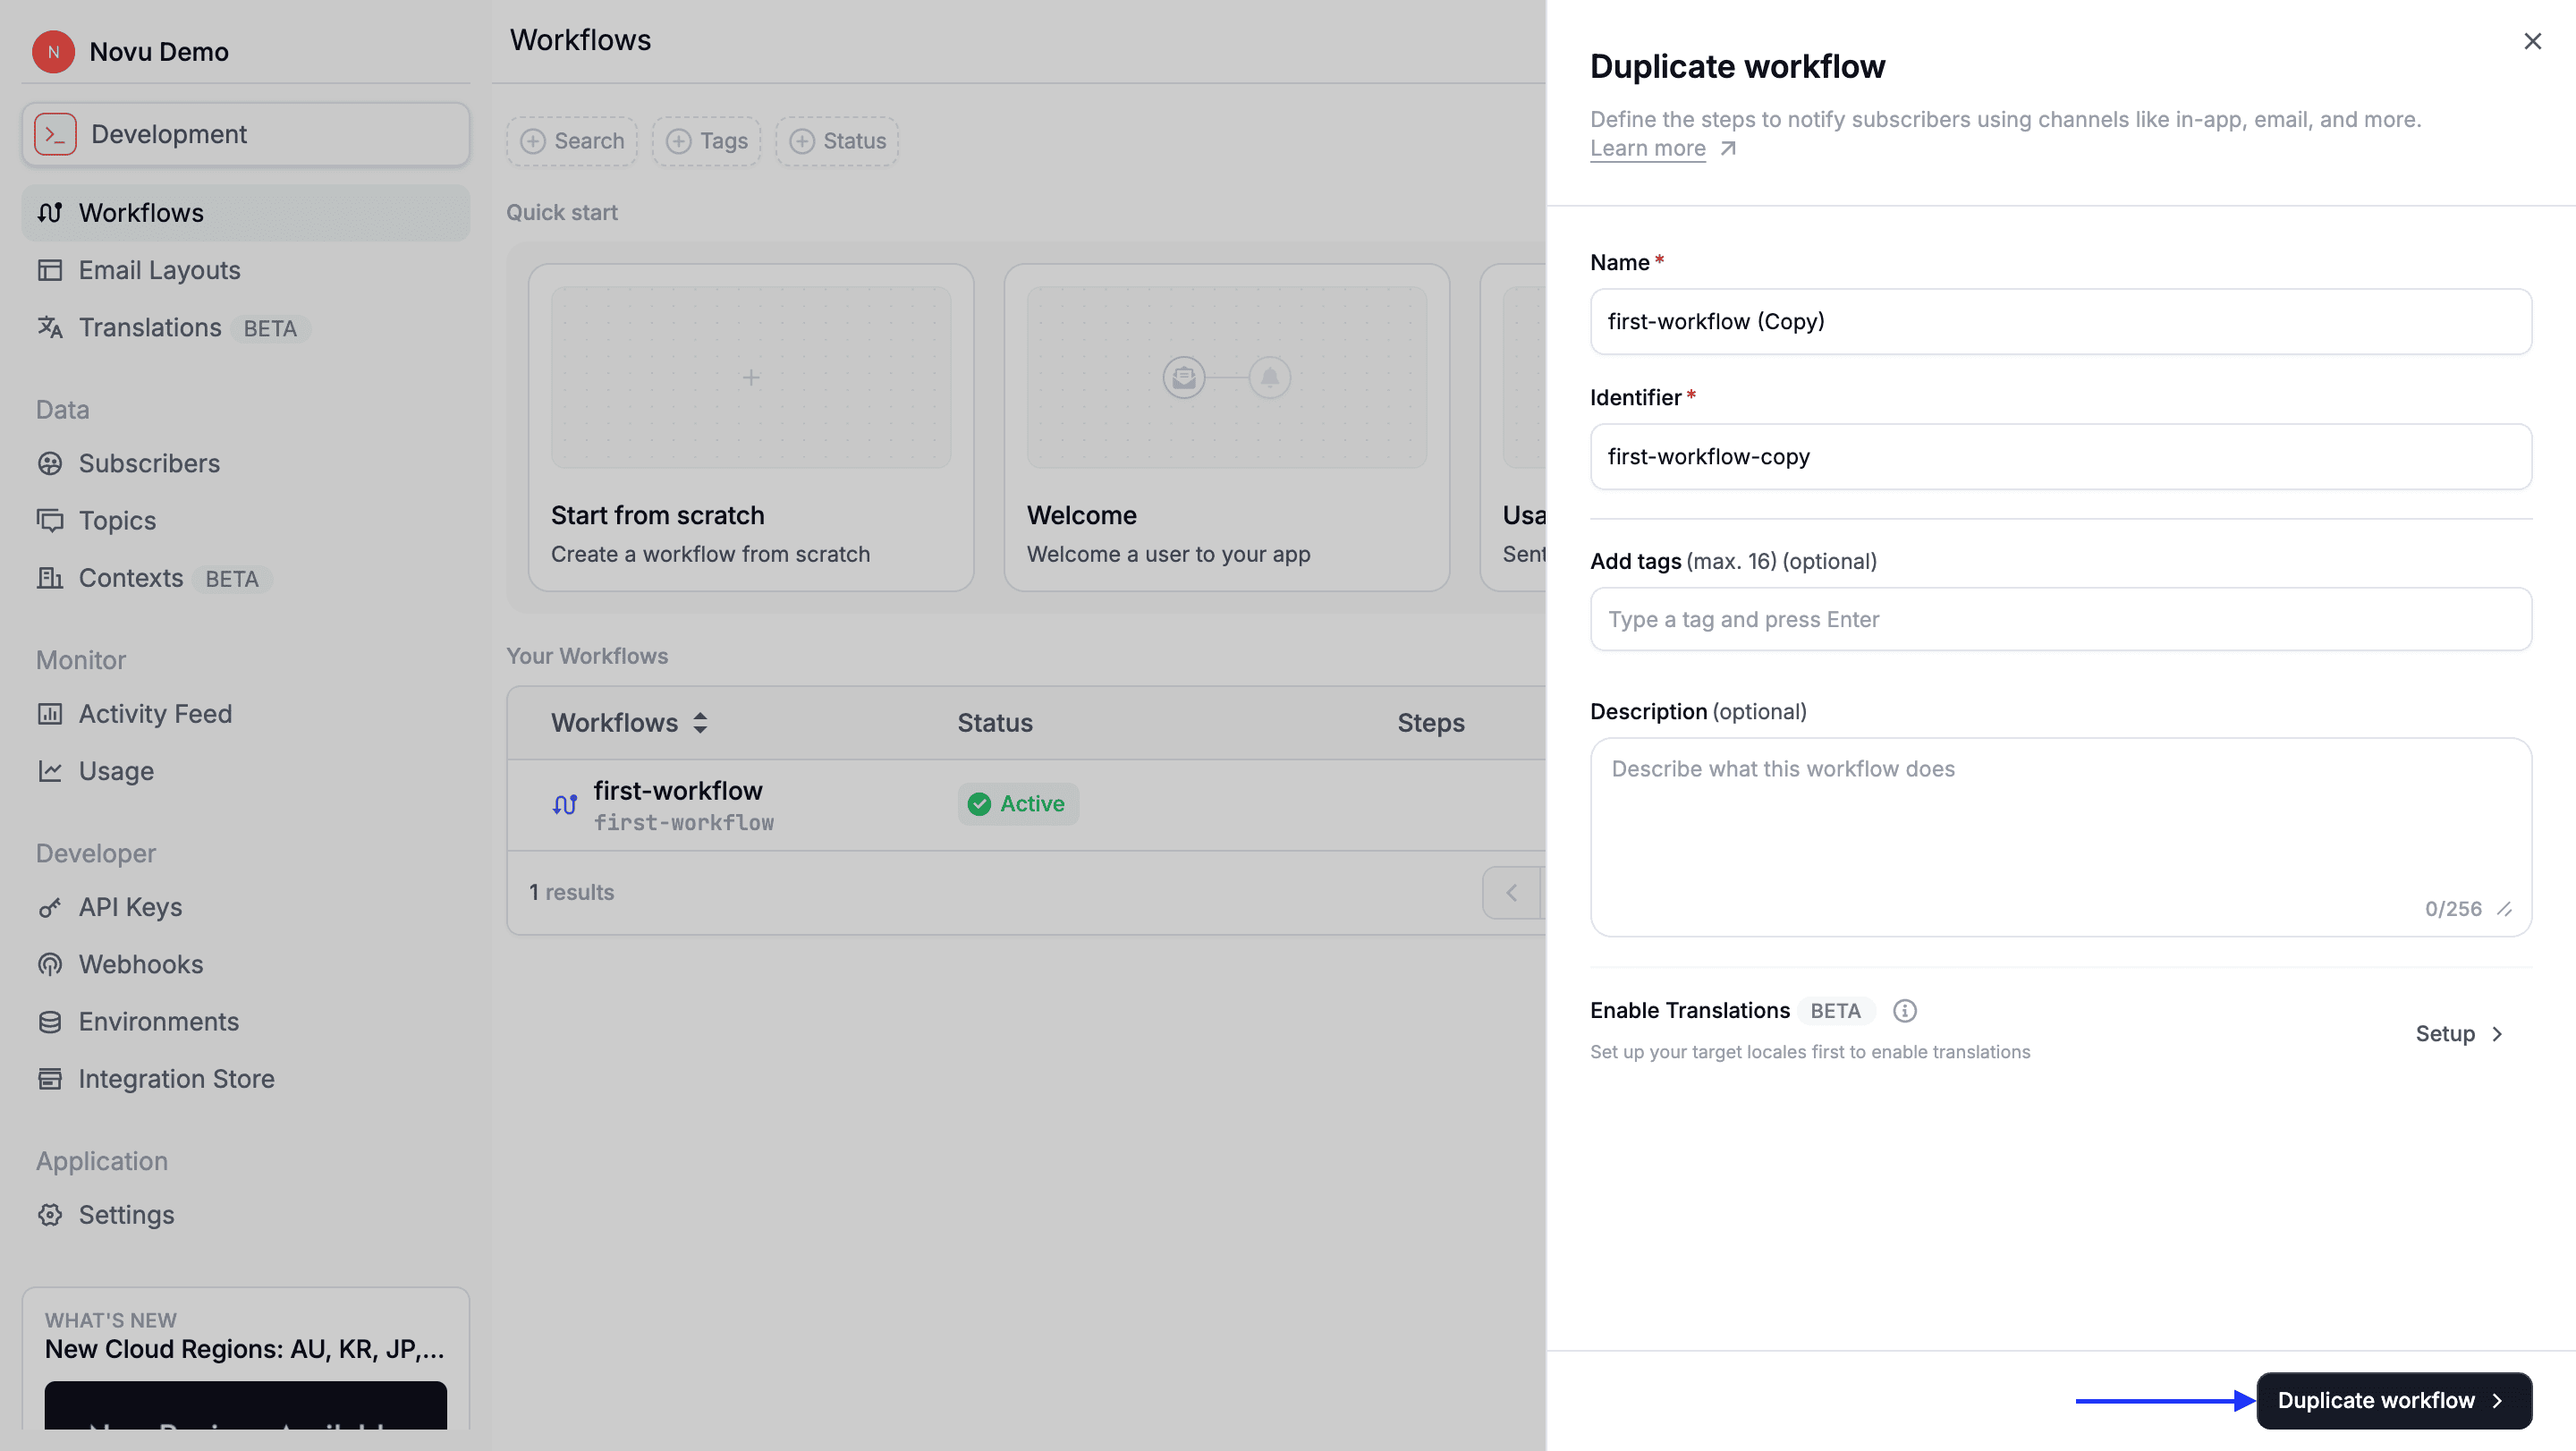
4
Provide a new name and identifier
5
Confirm duplication
Delete a workflow
1
Find the workflow
Locate the workflow on the Workflows page.
2
Open the menu
Click the three-dot menu (•••).
3
Select Delete
4
Confirm deletion
Review the warning, then confirm to permanently delete the workflow.