Configure Pushpad with Novu
Before you can send notifications, you need to connect your Pushpad project to Novu by getting your credentials and adding them to your integration settings.Step 1: Get your Pushpad credentials
To configure the Pushpad integration, you need:- An active Pushpad account
- A Pushpad auth token (found in the account settings)
- Your Pushpad project ID (found in the project settings)
1
Log in to Pushpad
Open your Pushpad dashboard and sign in.
2
Create a project
3
Record the Project ID
Click Settings on the project page and record the Project ID. You need it to connect to Novu.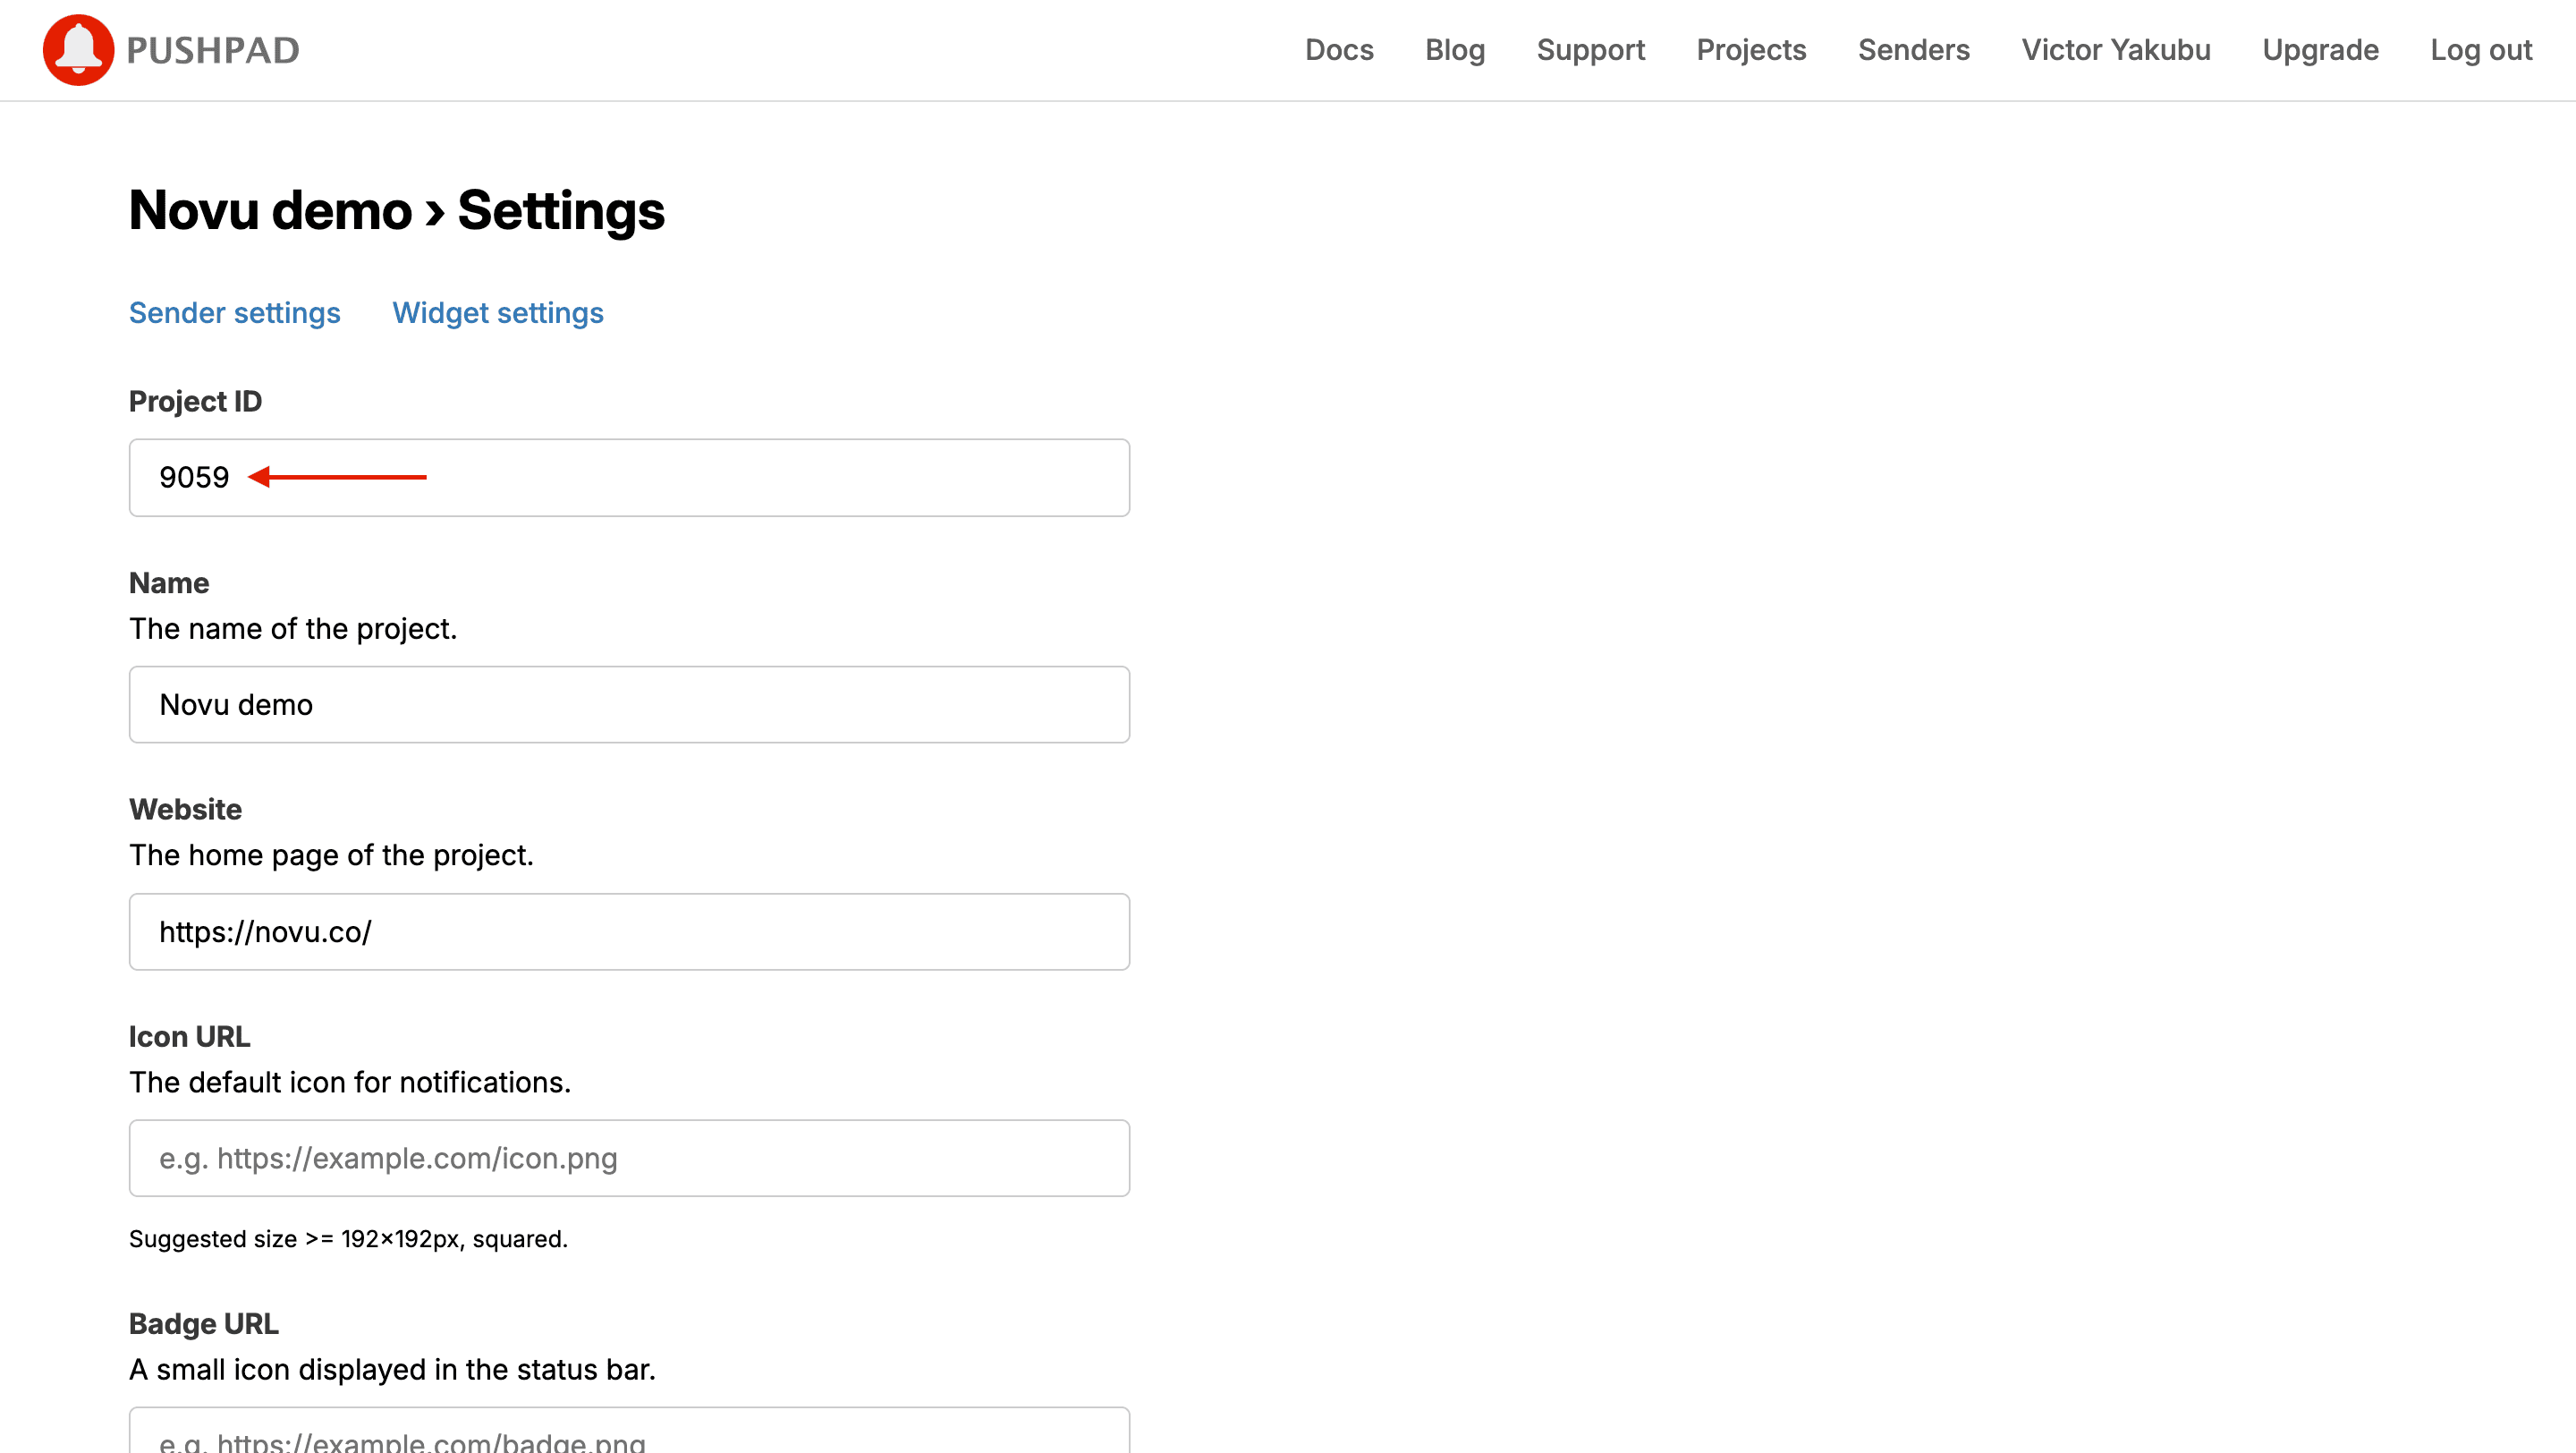
4
Open access tokens
Navigate to the access token page.
5
Add access token
Generate a token in Pushpad and paste it into the integration form.
6
Create the token
Fill in the required fields to create a new access token, or use your existing token if you already have one.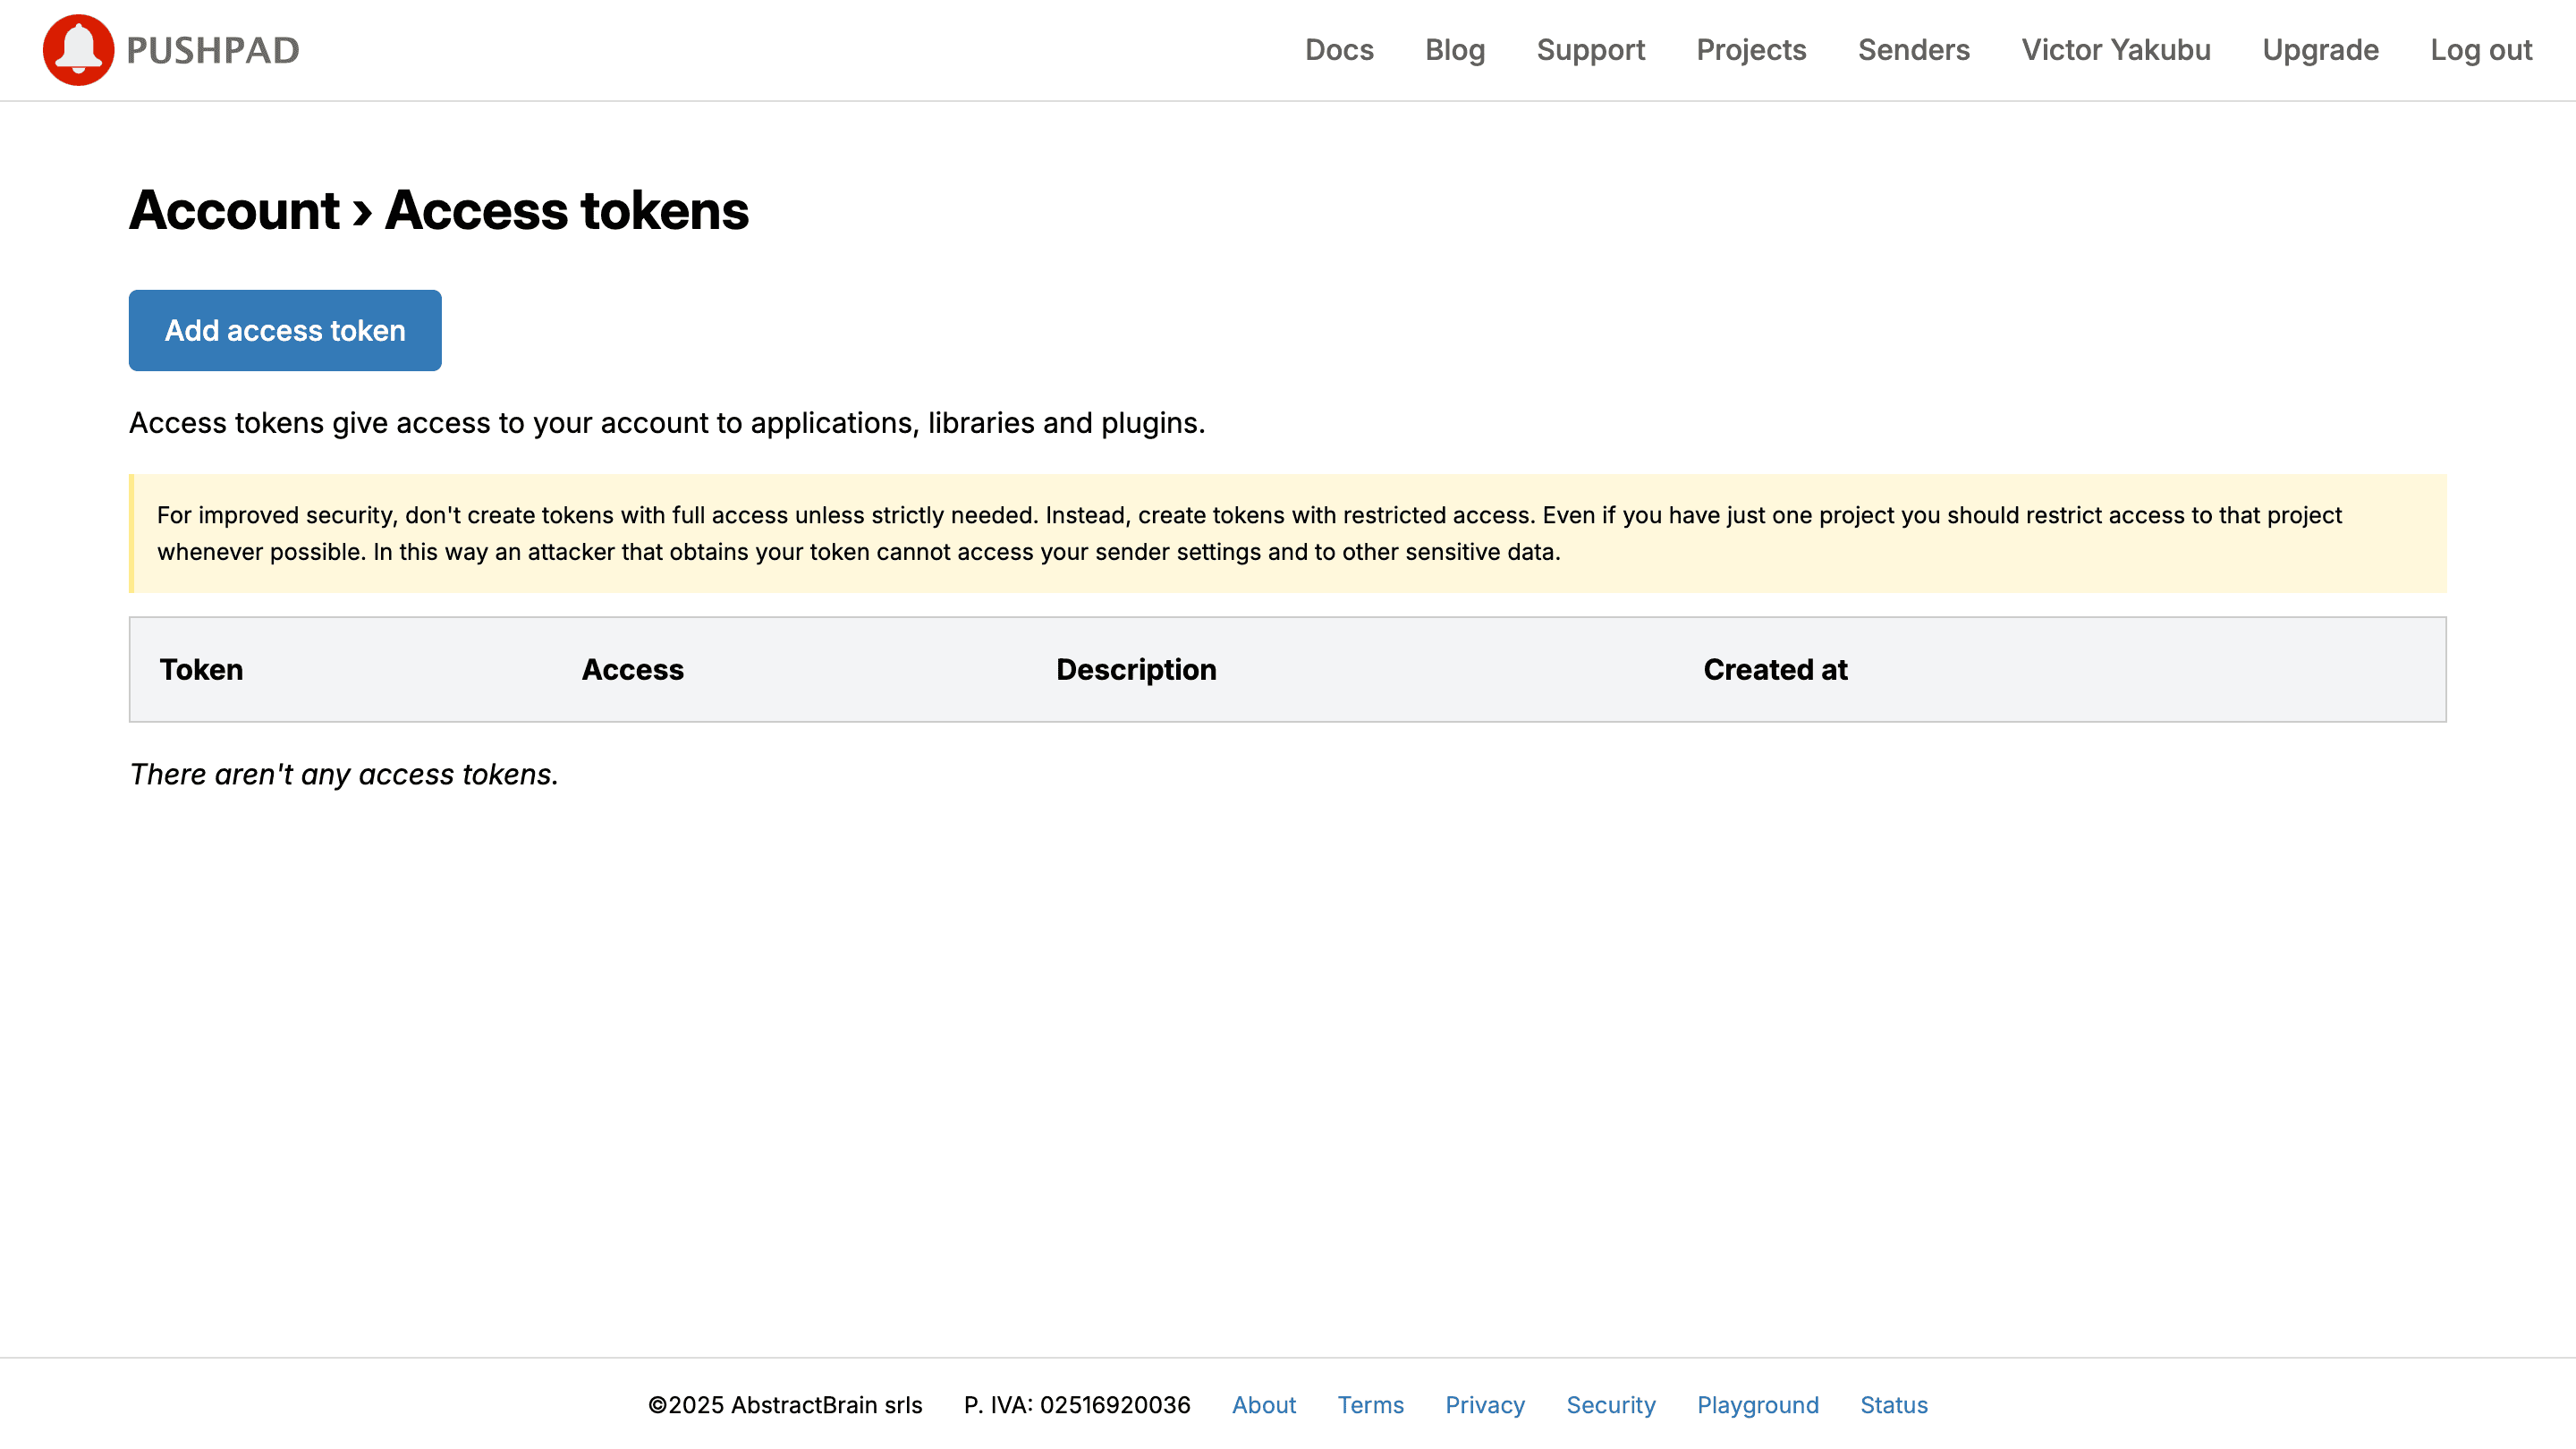
7
Copy the token
Copy the generated token. You need it to connect to Novu.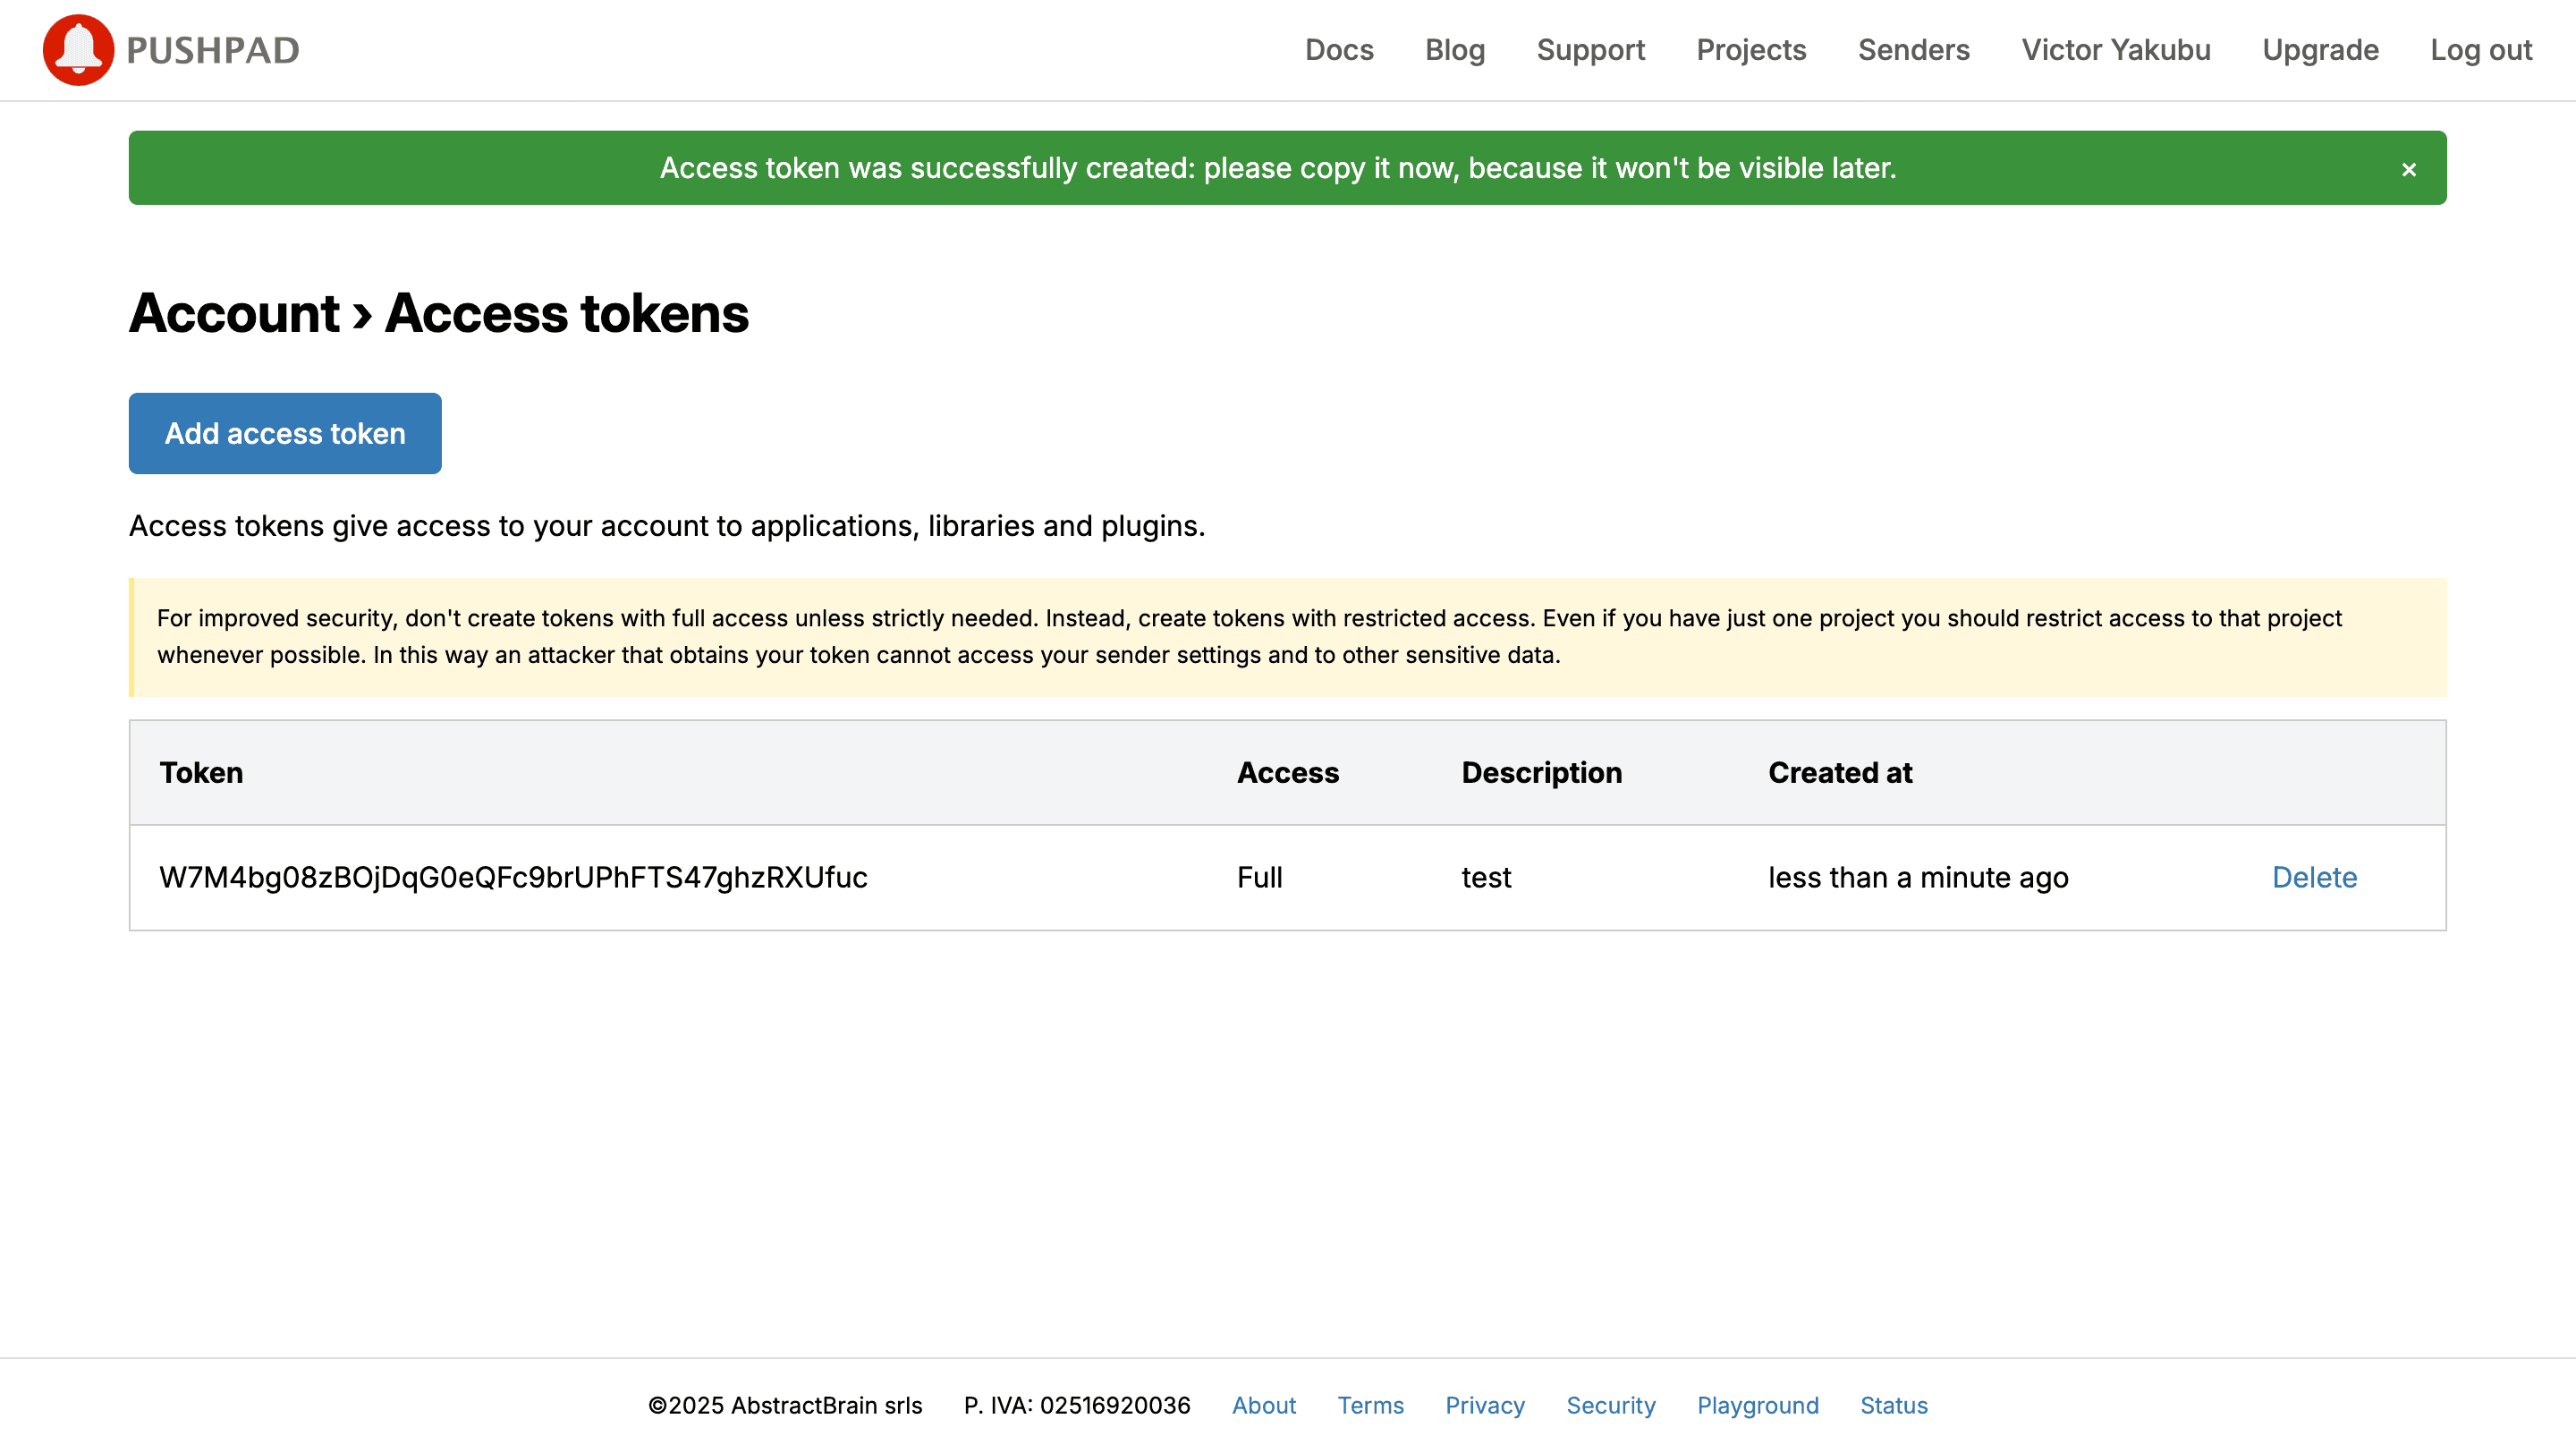
Step 2: Connect Pushpad to Novu
Add these credentials to your Pushpad integration in the Novu dashboard.1
Log in to the Novu dashboard
Open the Novu Dashboard.
2
Open Integration Store
On the Novu dashboard, navigate to the Integration Store.
3
Connect a provider
In the Integration Store, click Connect provider to begin setup.
4
Select Push tab
5
Select Pushpad
In the Push tab, choose Pushpad from the provider list.
6
Paste credentials
In the Pushpad integration form, paste your access token and project ID from Step 1 into the corresponding fields.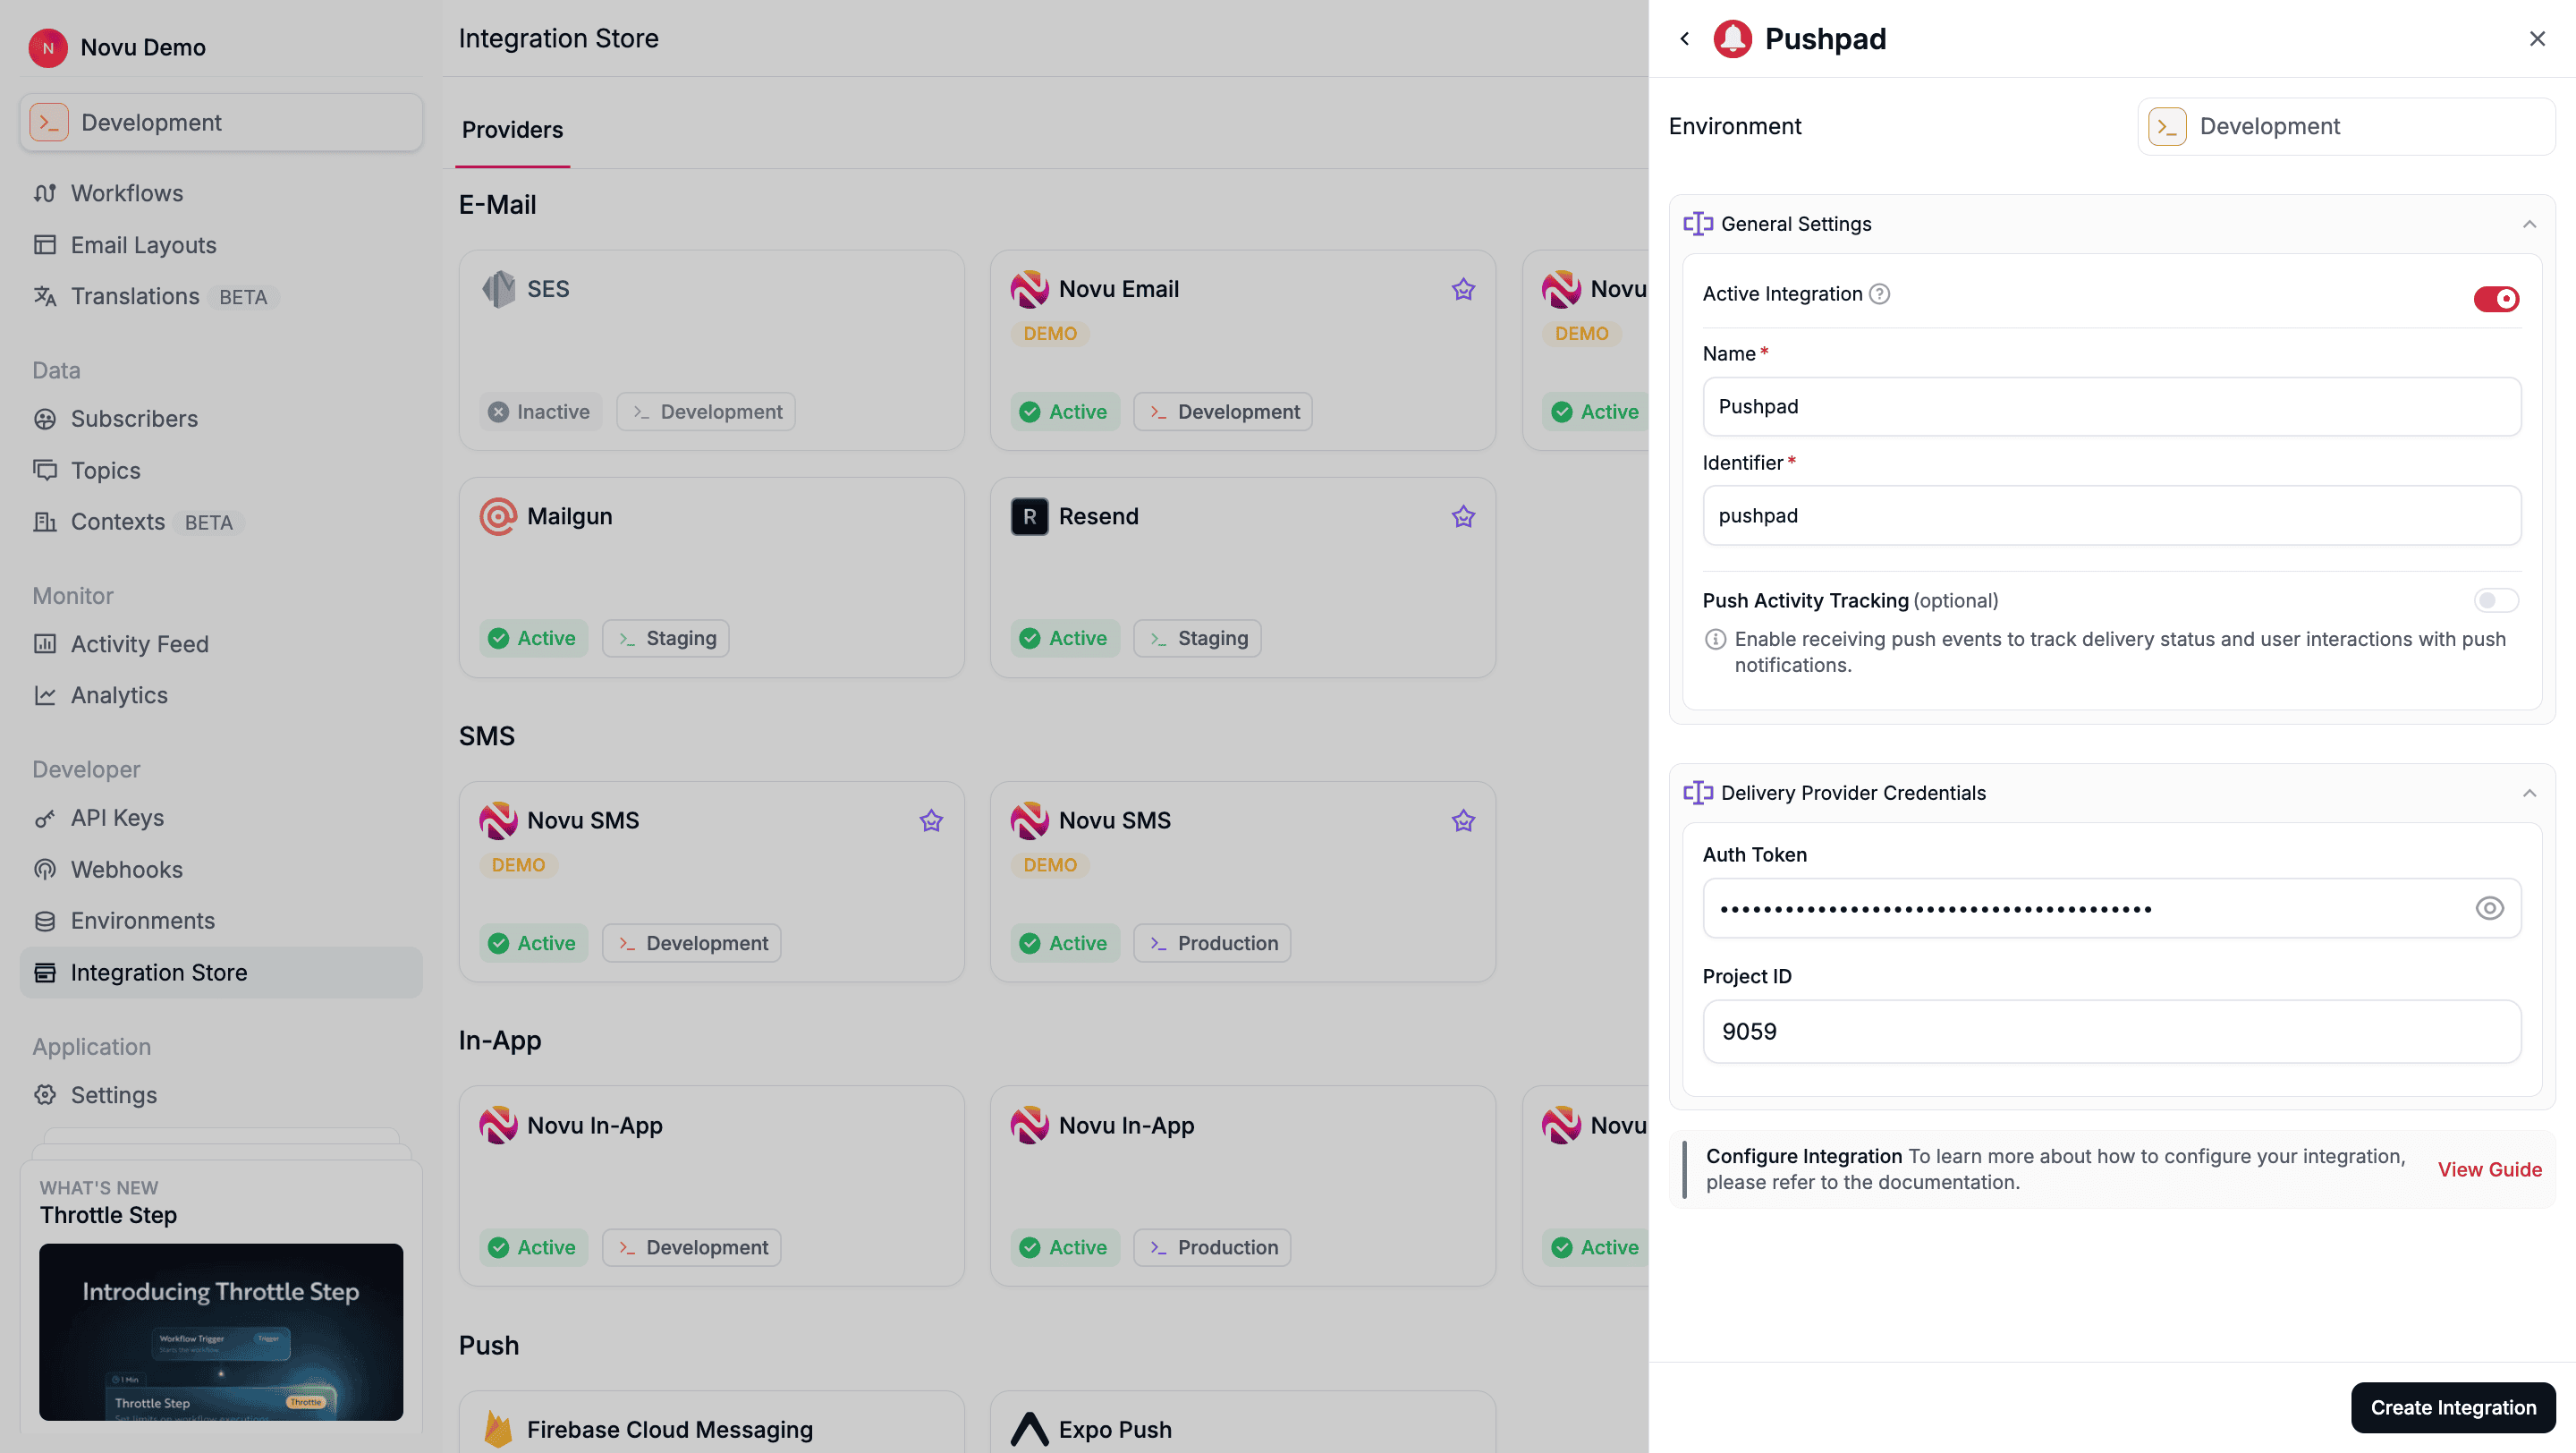
7
Create the integration
Review your credentials, then click Create Integration to save.
Using Pushpad with Novu
Once your integration is configured, in other to send push notification using the PushPad provider, you must do the following:Step 1: Add subscriber device token
After setting up the Pushpad SDK on your website, you must assign a user ID (uid) to your users’ push subscriptions. Thisuid is the identifier Novu uses to target a specific browser. For example, if you use pushpad('uid', 'user123'), then user123 is the ID you must register in Novu.
You can do this by making an API call to update the subscriber’s credentials.
- Node.js
- Python
- Go
- PHP
- .NET
- Java
- cURL
Step 2: Send a notification
Now you’re ready to send a push notification. Create a workflow with a Push step and then trigger it. Novu sends the notification to theuids associated with the subscriber.
The example below demonstrates a simple trigger using Novu’s SDK.
- Node.js
- Python
- Go
- PHP
- .NET
- Java
- cURL